
A Mistimed Christmas Wreath
I made a Christmas wreath. In October. (I didn’t say it was a good idea.)
We were prepping our rental house for sale a couple months ago and had to trim yews and holly trees away from the house. I hated for all those beautiful greens to go to waste, and I didn’t have a project in the works, so I thought I’d turn them into a Christmas wreath.
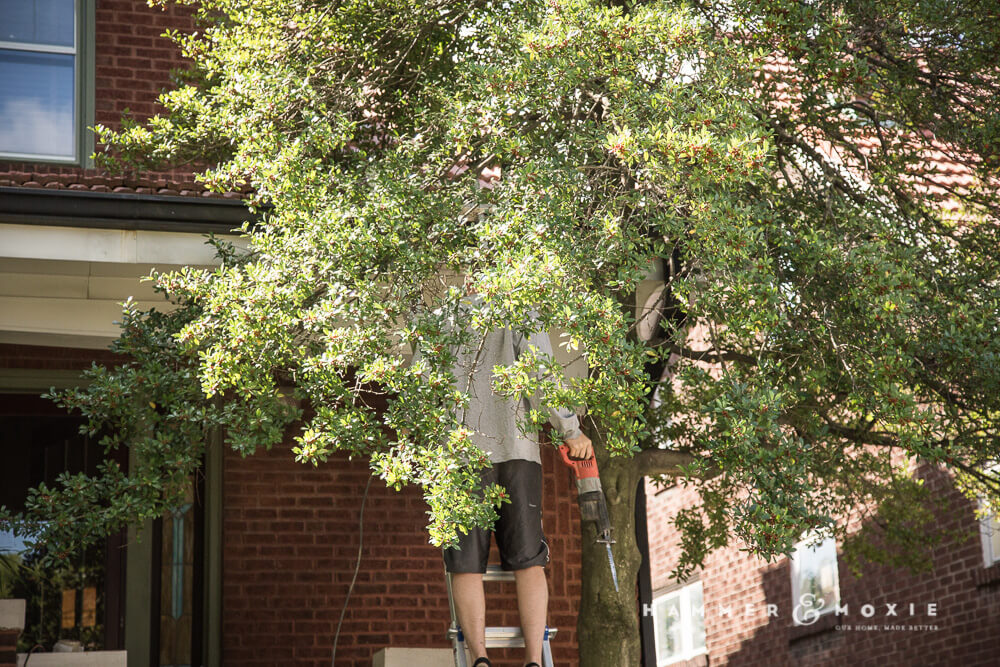
My husband is in there somewhere.
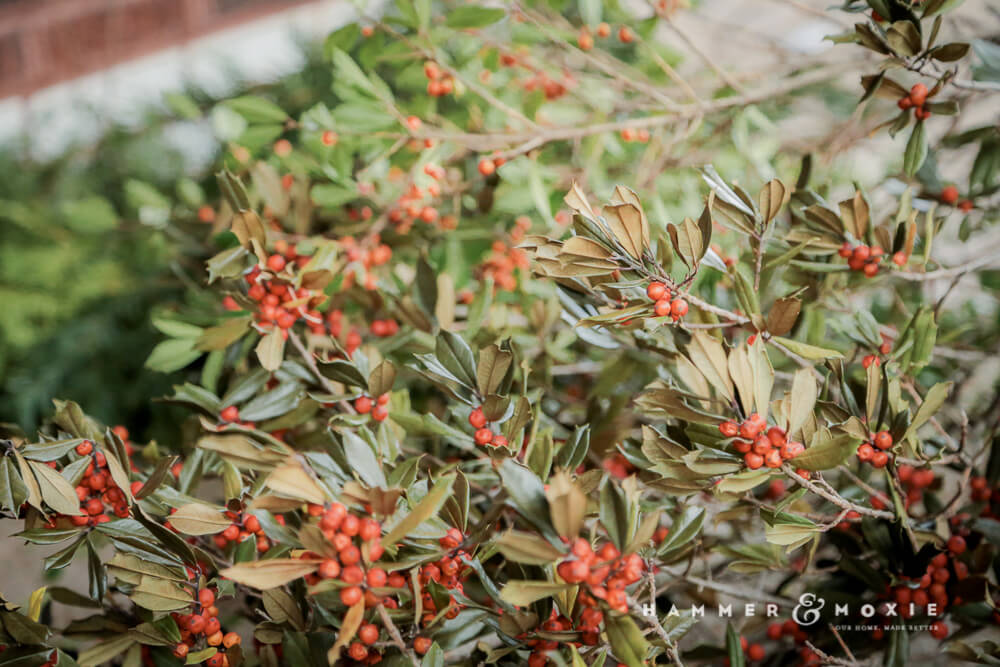
I sifted through the mountain of branches we trimmed from the overgrown trees in the yard (#landlordfail), chose sprigs that were bright and full, and dragged them to our house.
Then I sat my happy little tush on the porch and went to work on my way-too-early-for-Christmas wreath.
Here’s how I did it:
Since greens were literally falling from the sky, this wreath cost me less than $10. I bought the supplies at Joann Fabric.
Supplies :
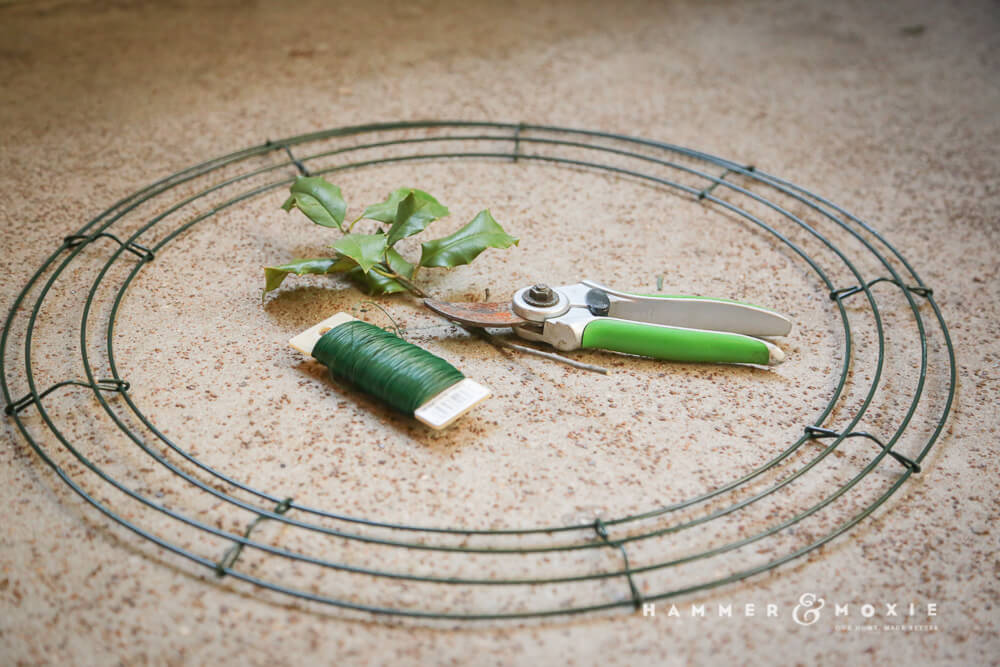
Frame, pruners, wire, greens.
Wreath frame: $4.40
Floral wire: $1.99
Hand pruners: from our garage
3-4 different types of greens and/or berries: from the back yard
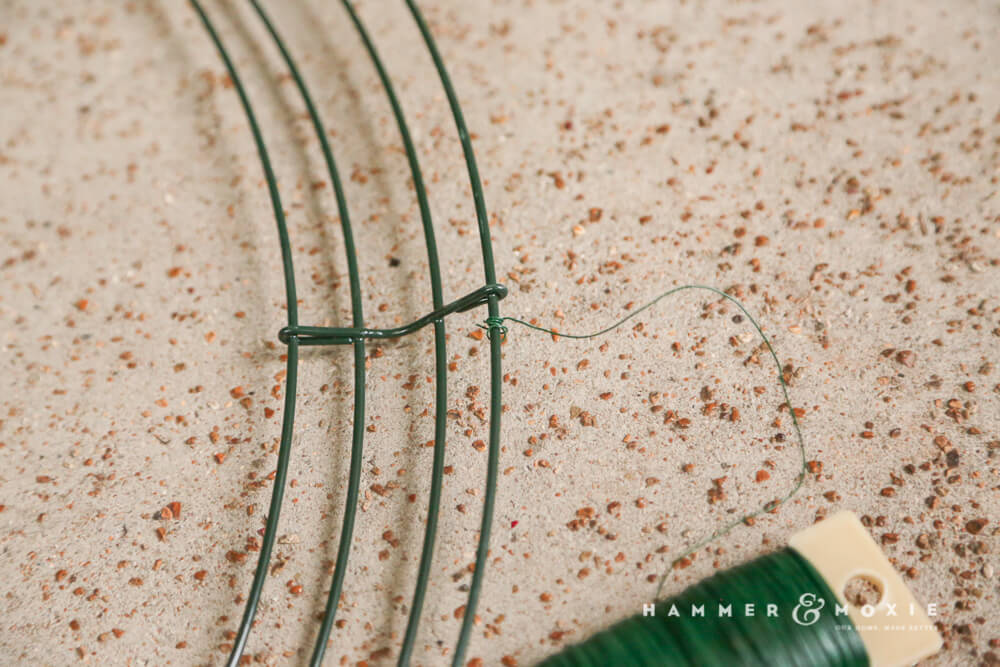
Step 1:
Start by tying one end of the wire tightly to the frame, leaving the rest on the spool.
Step 2:
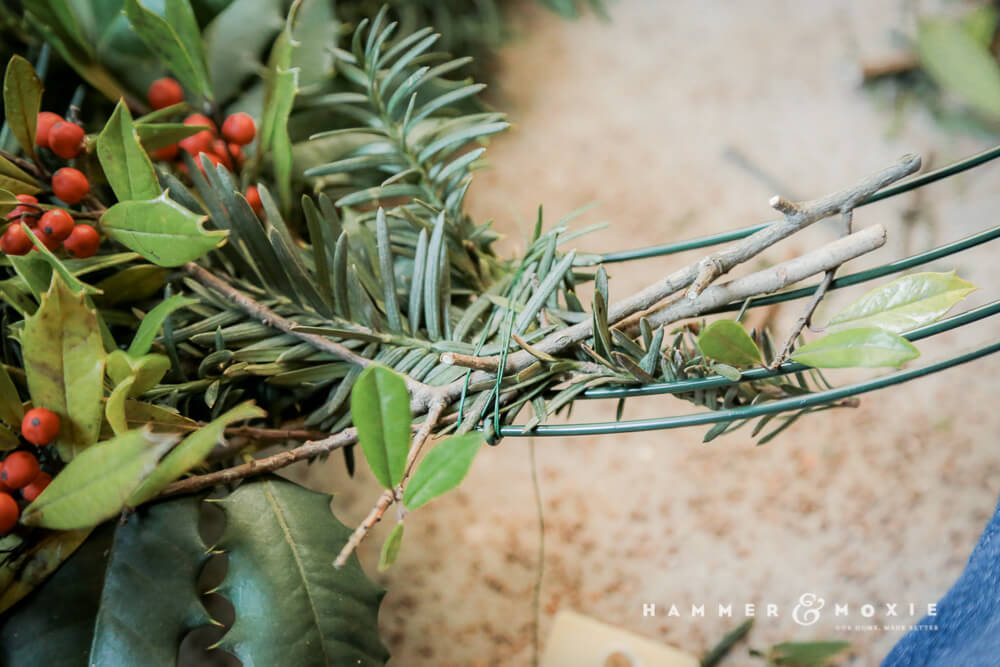
Make a small bundle of greens. I placed a piece of yew at the back of each bundle to fill the space, and then layered the holly branches on top to give it some variety and dimension. Each bundle was four to six inches long.
Attach your bundle to the wire frame. Just wrap the wire around the frame and each bundle, and pull it tight.
Step 3:
Repeat. Repeat. Repeat.
Alternate the direction of the bundles, pointing one in, and the next one out, in, out, in, out. This will ensure that your wreath is full and lovely.
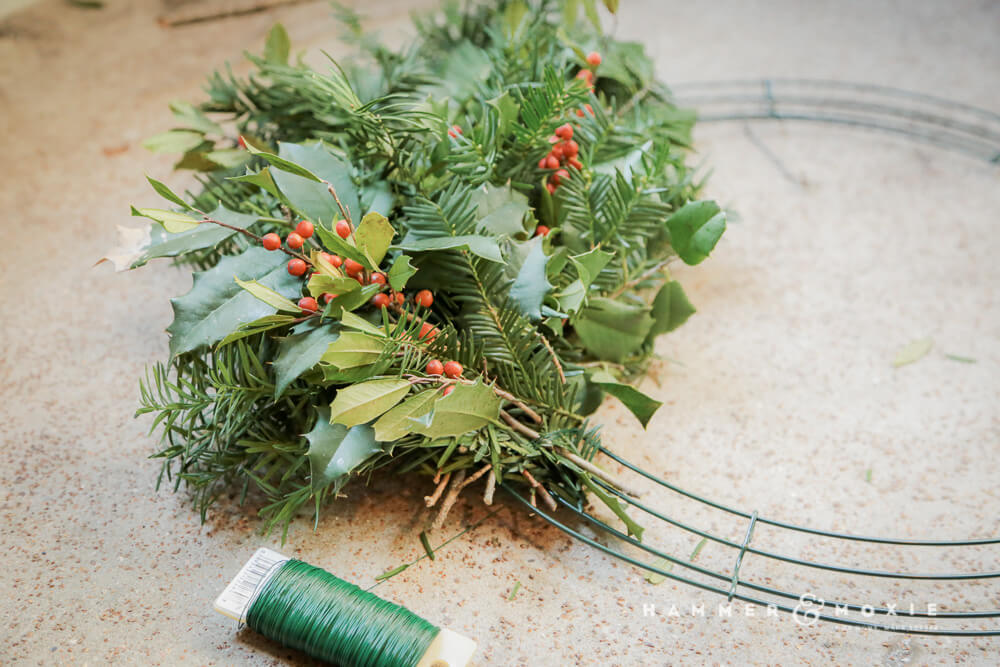
The greens will shrink as they dry over time, so really pack them together tightly. The last one is tricky, but grit your teeth, get gouged by the holly leaves, cram it in there, and pull the wire tight.
When you’ve attached your last bundle, tie the end of the wire to the wreath frame.
If you want to add a bow or some pine cones (or any other embellishment), do so at the end. Use the floral wire to attach it to the wreath.

I made mine during an unseasonably warm October. It’s dead now. If you make yours closer to say, Christmas, your wreath should last at a couple months, and you won’t confuse trick-or-treaters.


