Kitchen Renovation, Part 3: The Reveal
RETROSPECTIVE:
This kitchen remodel preceded Hammer & Moxie, so we don’t have comprehensive, quality photos of the step-by-step process. We’ve attempted to recount the experience in as much detail as possible, but we’re relying on fuzzy memories and fuzzier cell phone photos. Though this isn’t intended to be a tutorial, please feel free to ask how-to questions in the comments.
Kitchen Renovation, Part 1: Planning & Permits
Kitchen Renovation, Part 2: Breaking Things & Building Things
Kitchen Renovation, Part 3: The Reveal
Six months older and several dollars poorer, we finished the kitchen renovation. Well, I use the term “finished” loosely. As is prone to happen with projects, finishing touches went unfinished for, um, years. Baseboards remained in the basement until this past summer. Paint touch-ups went untouched for that same span. The toe kicks, which will only take 15 minutes to properly install, still are not affixed to the cabinet legs. When you’ve poured six months of your life into something and it’s otherwise perfectly functional, it can be hard to find the motivation to tie up loose ends. We’ve conveniently omitted these unfinished details from the photos. And with no further ado . . .
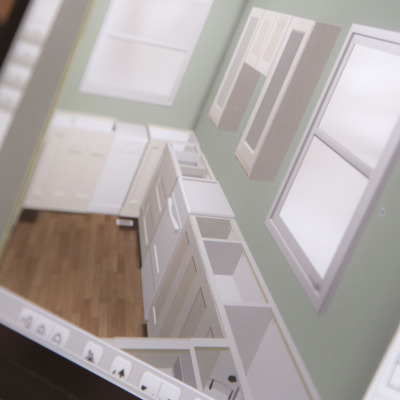
The reveal:
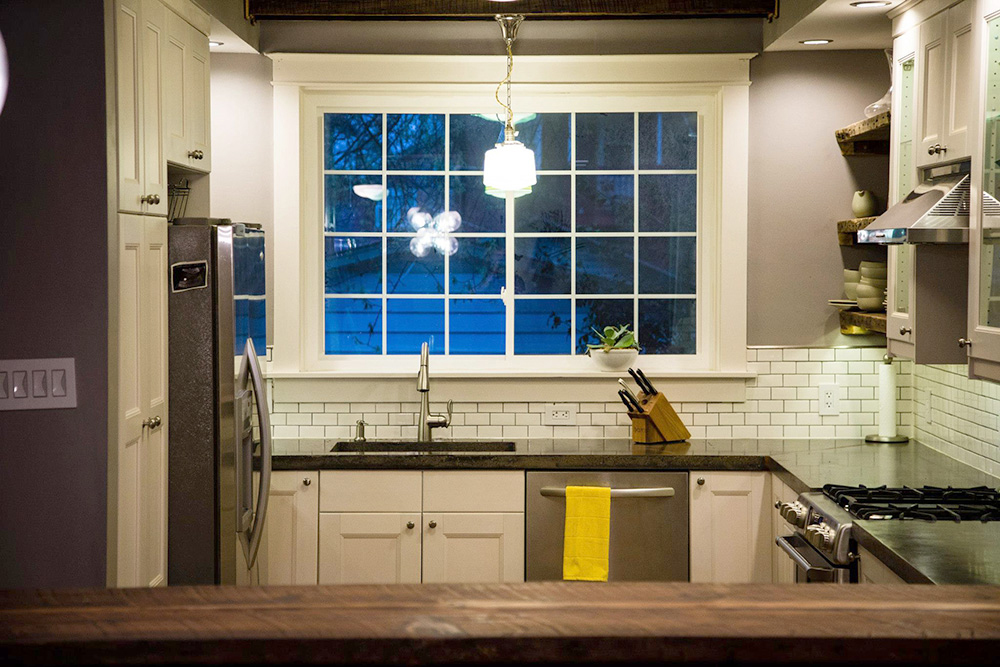
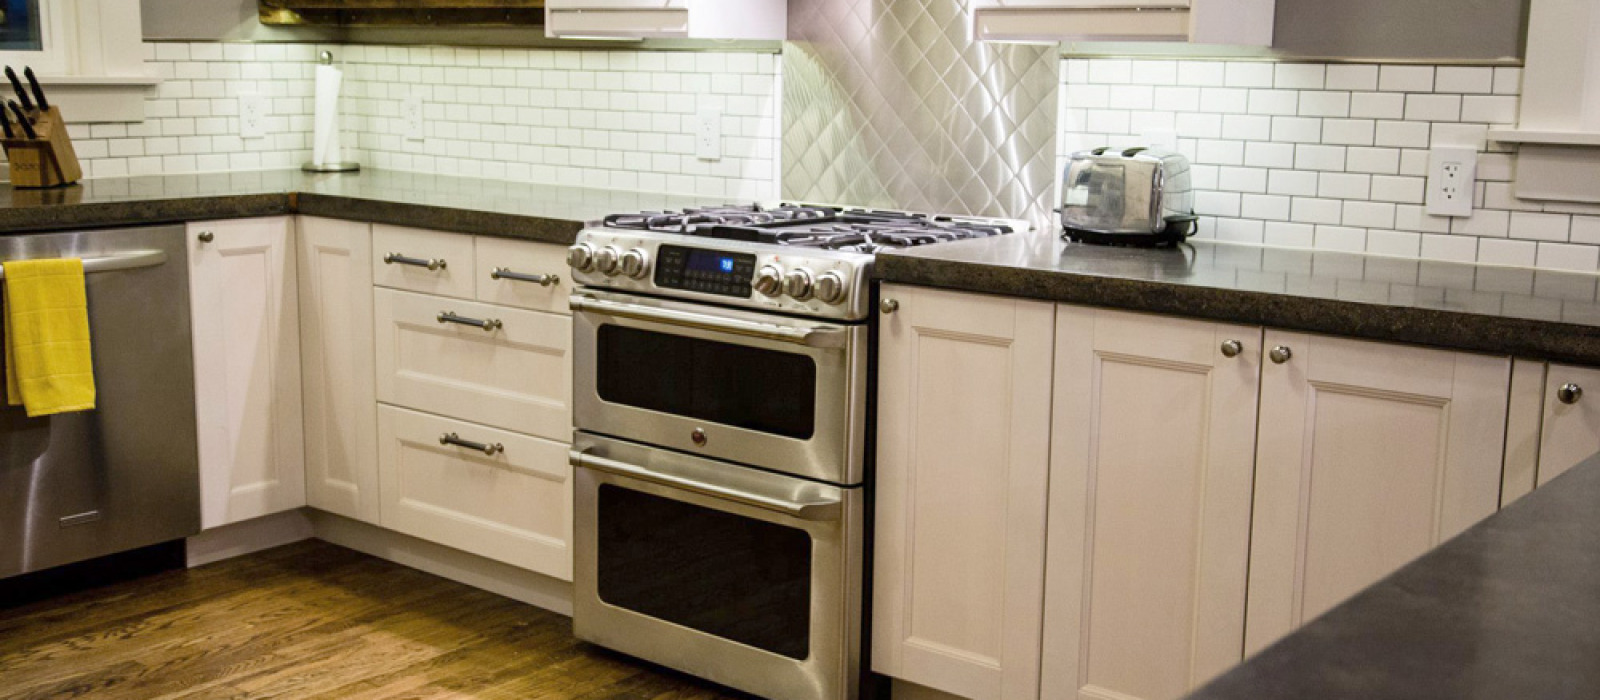
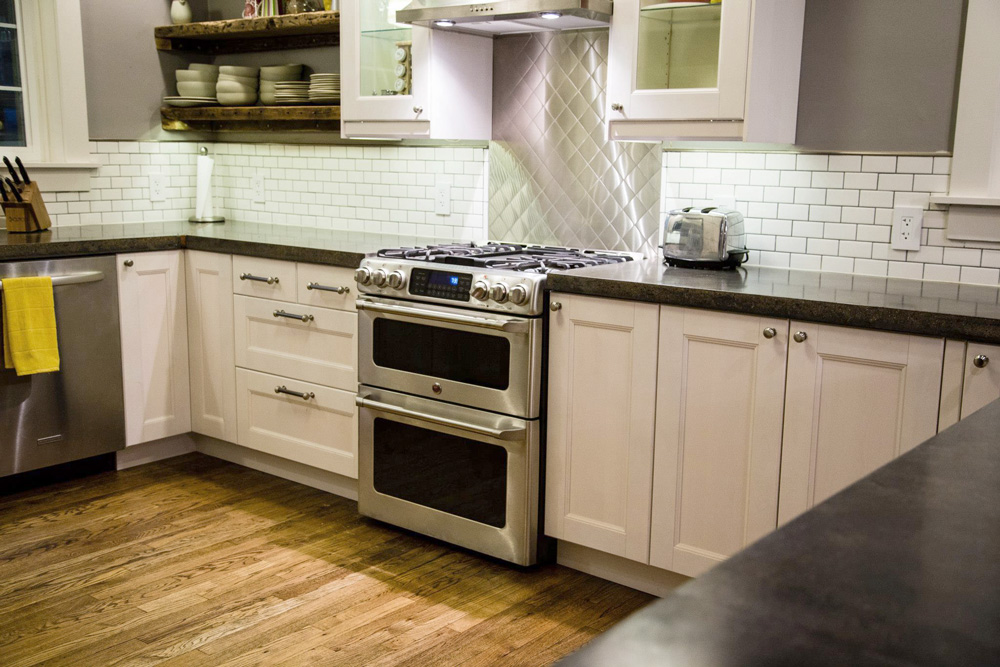
Well, here it is, complete with homemade concrete countertops, resized windows, mini subway tile backsplash, Ikea cabinets, reclaimed wood breakfast bar, shelving, and faux beam, and stainless appliances. As mentioned in an earlier post, Leslie and I did everything you see ourselves with the exception of the window installation and gas line for the range.
Let’s take a look at some of the details:
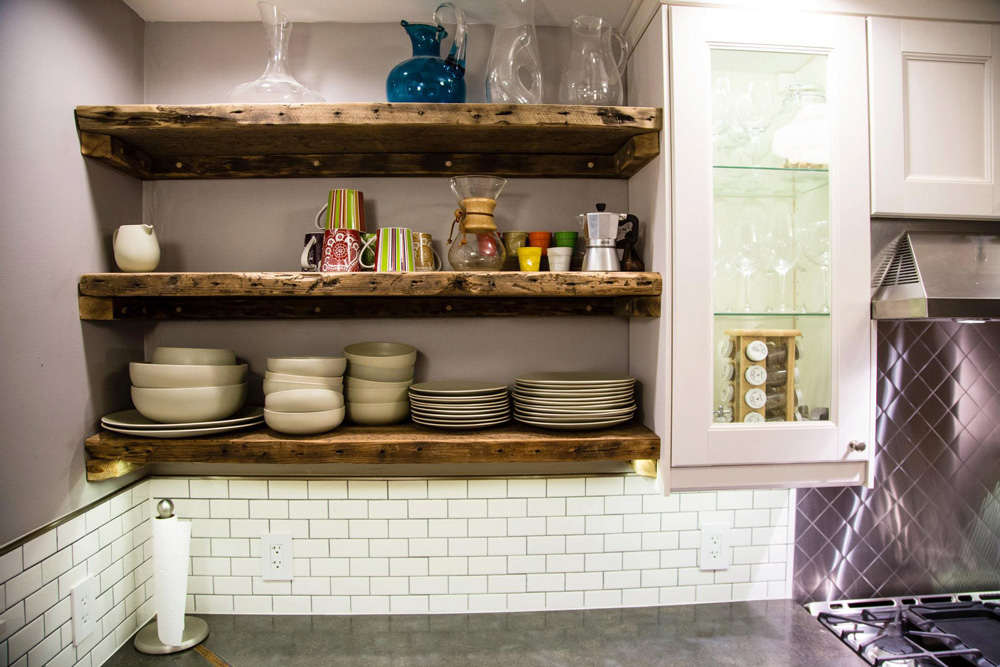
Shelves made of reclaimed wood—old floor joists to be exact—offer visual contrast to the white cabinetry.

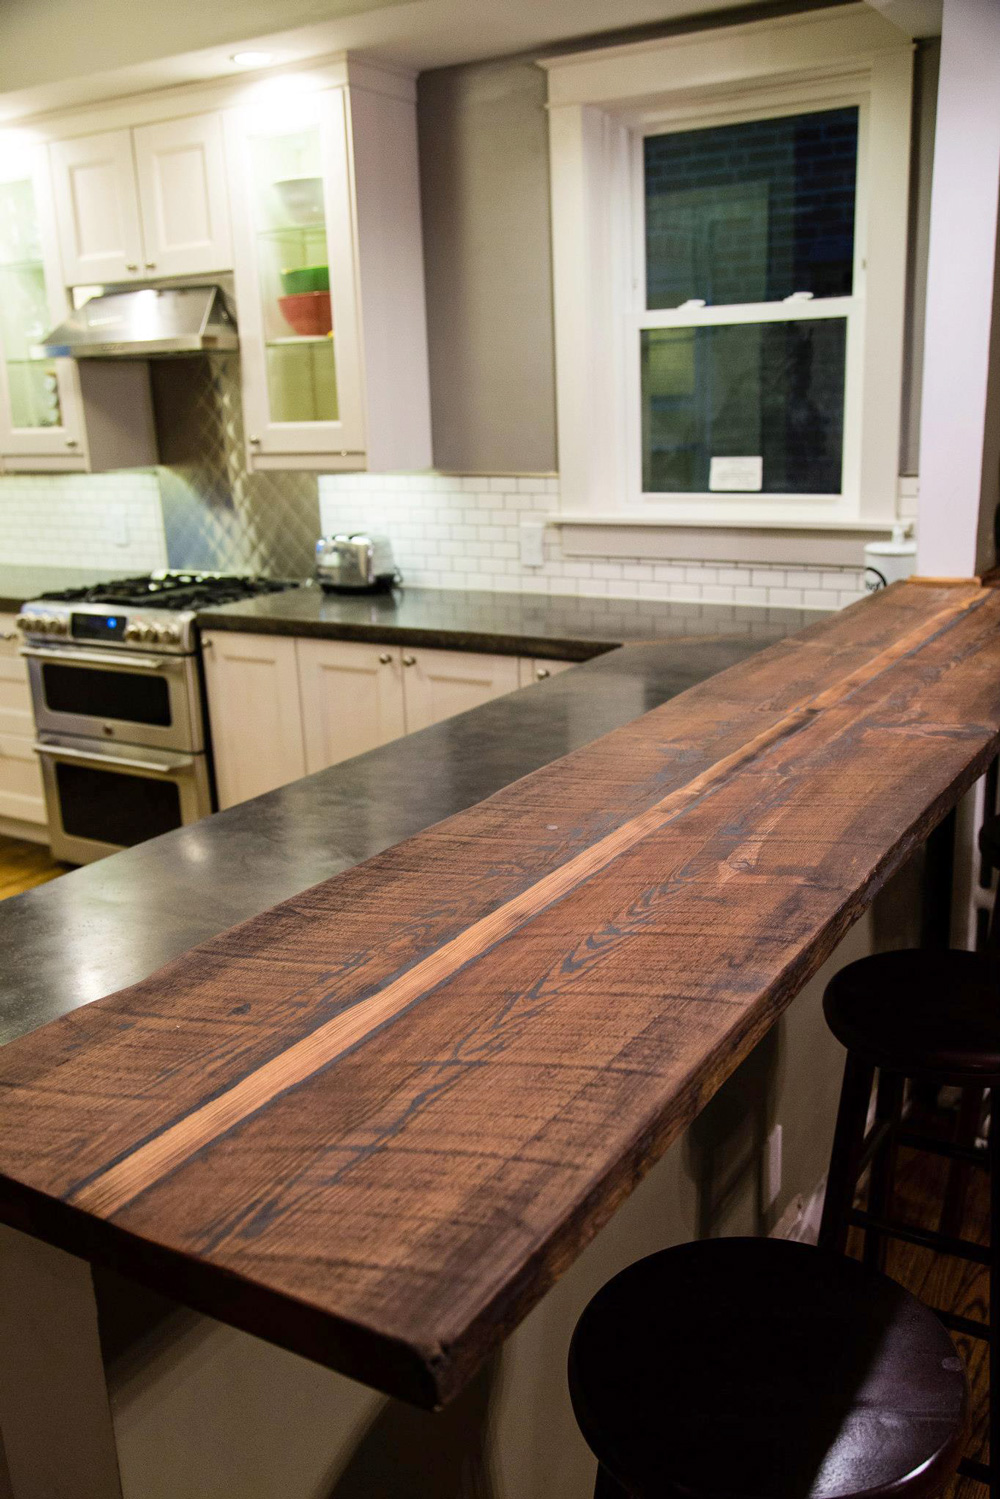
The breakfast bar was made out of the same joists as the shelving. All yellow pine and very affordable.
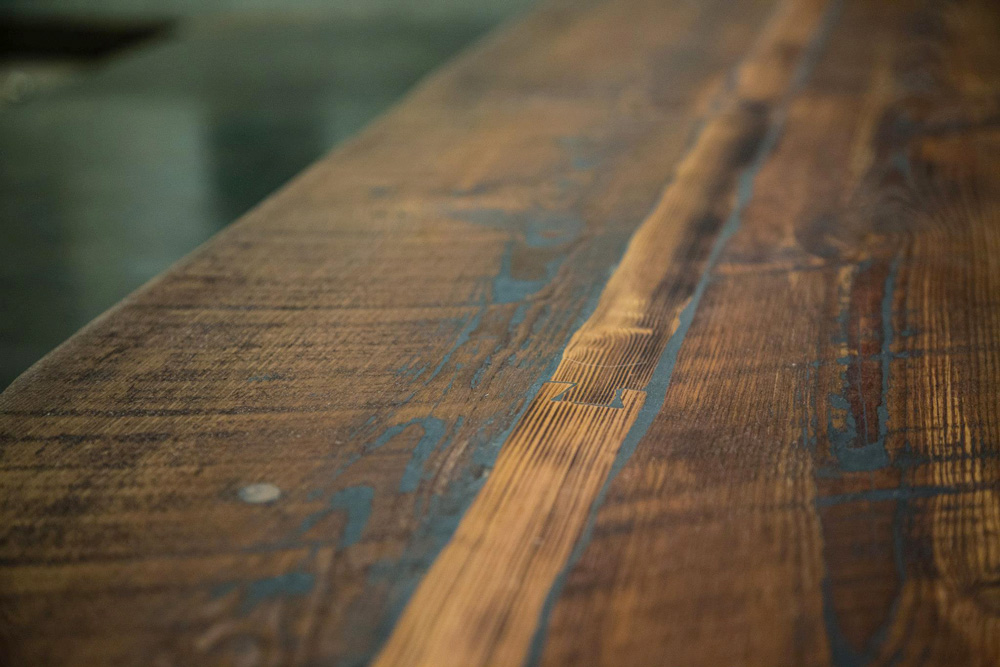
Detailed view of the breakfast bar.
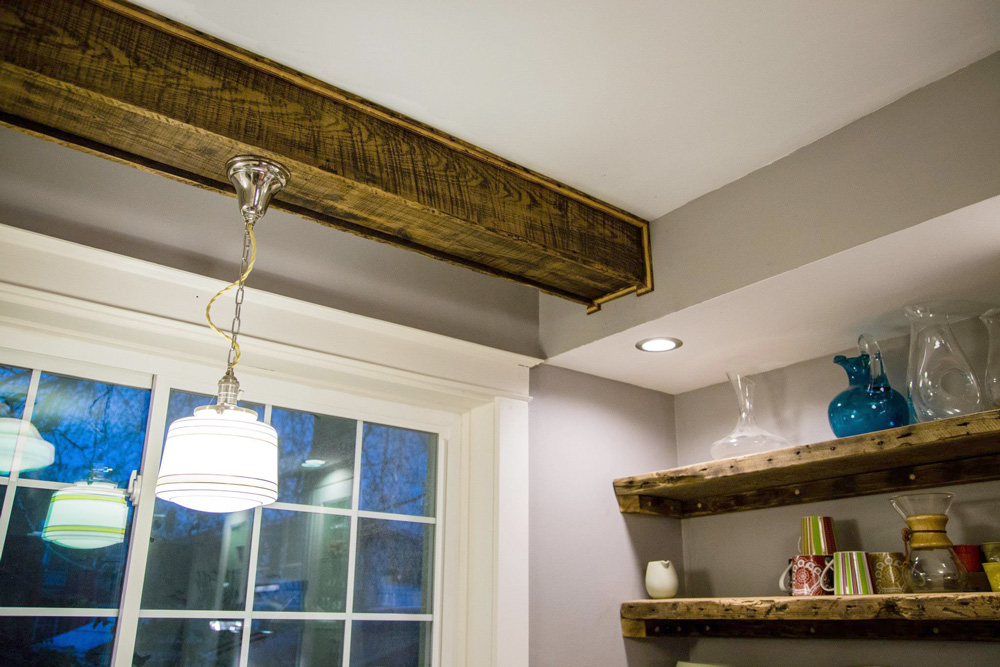
A faux beam helped frame the picture window and allowed us to run electrical from soffit to soffit without crowding the window with yet another soffit.
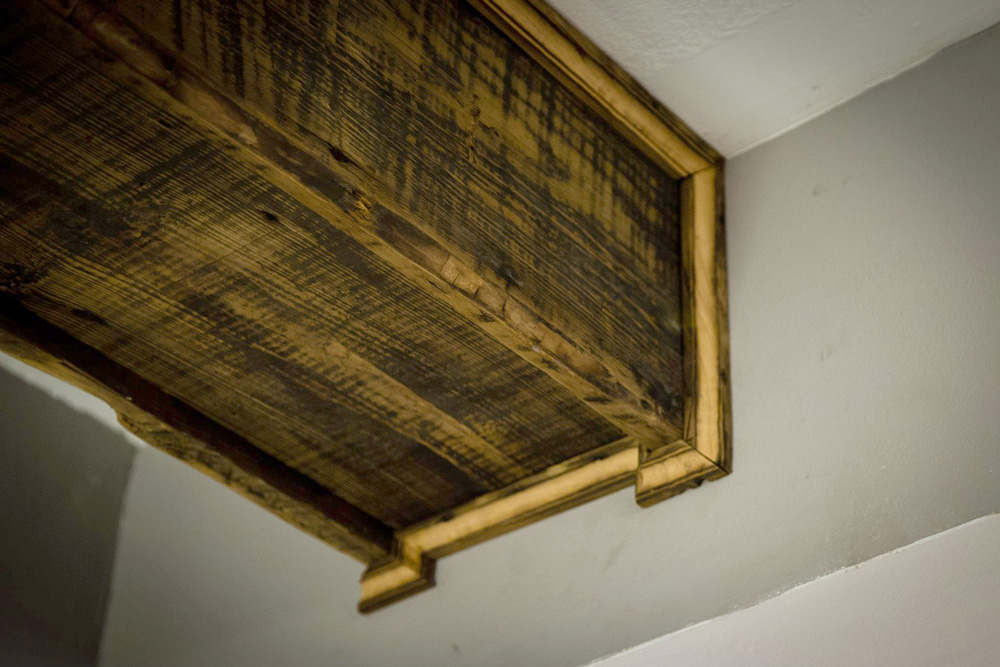
Detailed view of the wood beam.

The concrete countertops are the crown jewel in our DIY kitchen renovation.
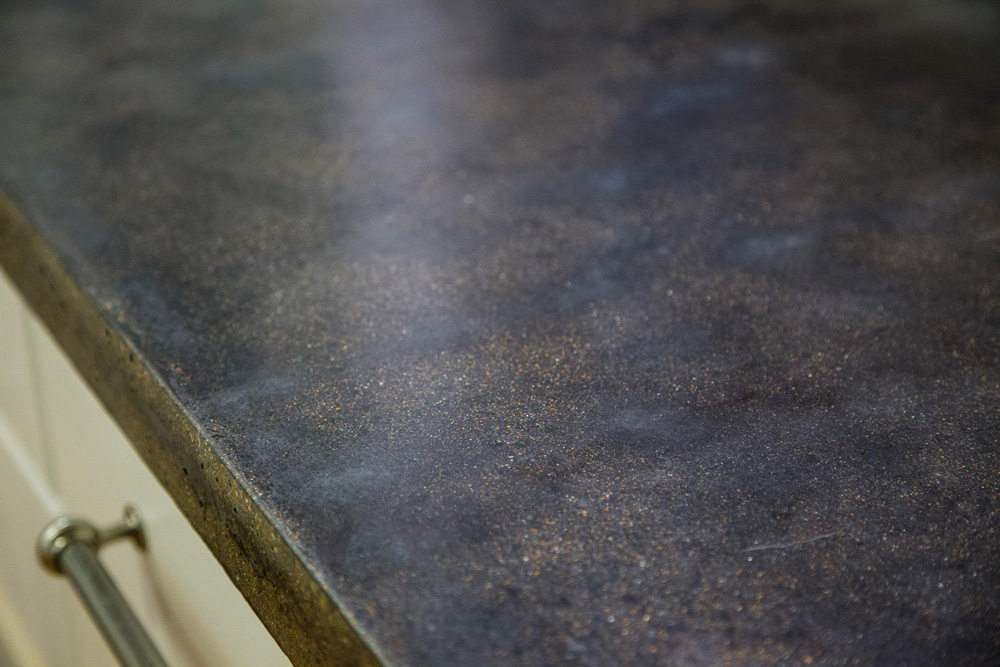
We added charcoal pigment to achieve the dark gray color and just barely grinded into the sand to bring out a little variation in the surface. We avoided grinding so deep as to bring out large pieces of aggregate (rock), as we wanted a somewhat uniform appearance.
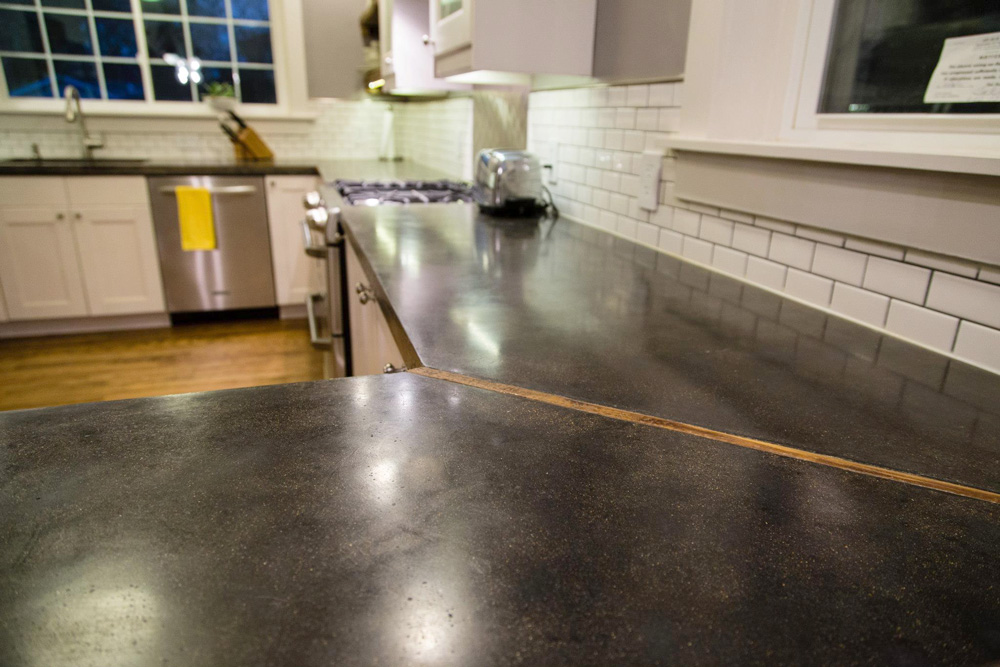
Seams between the slabs are unavoidable, so we wanted them to look like design elements. The only seams are 45º angles in the corners. Reclaimed wood inserts (the same wood from our shelving and breakfast bar) separate the slabs.
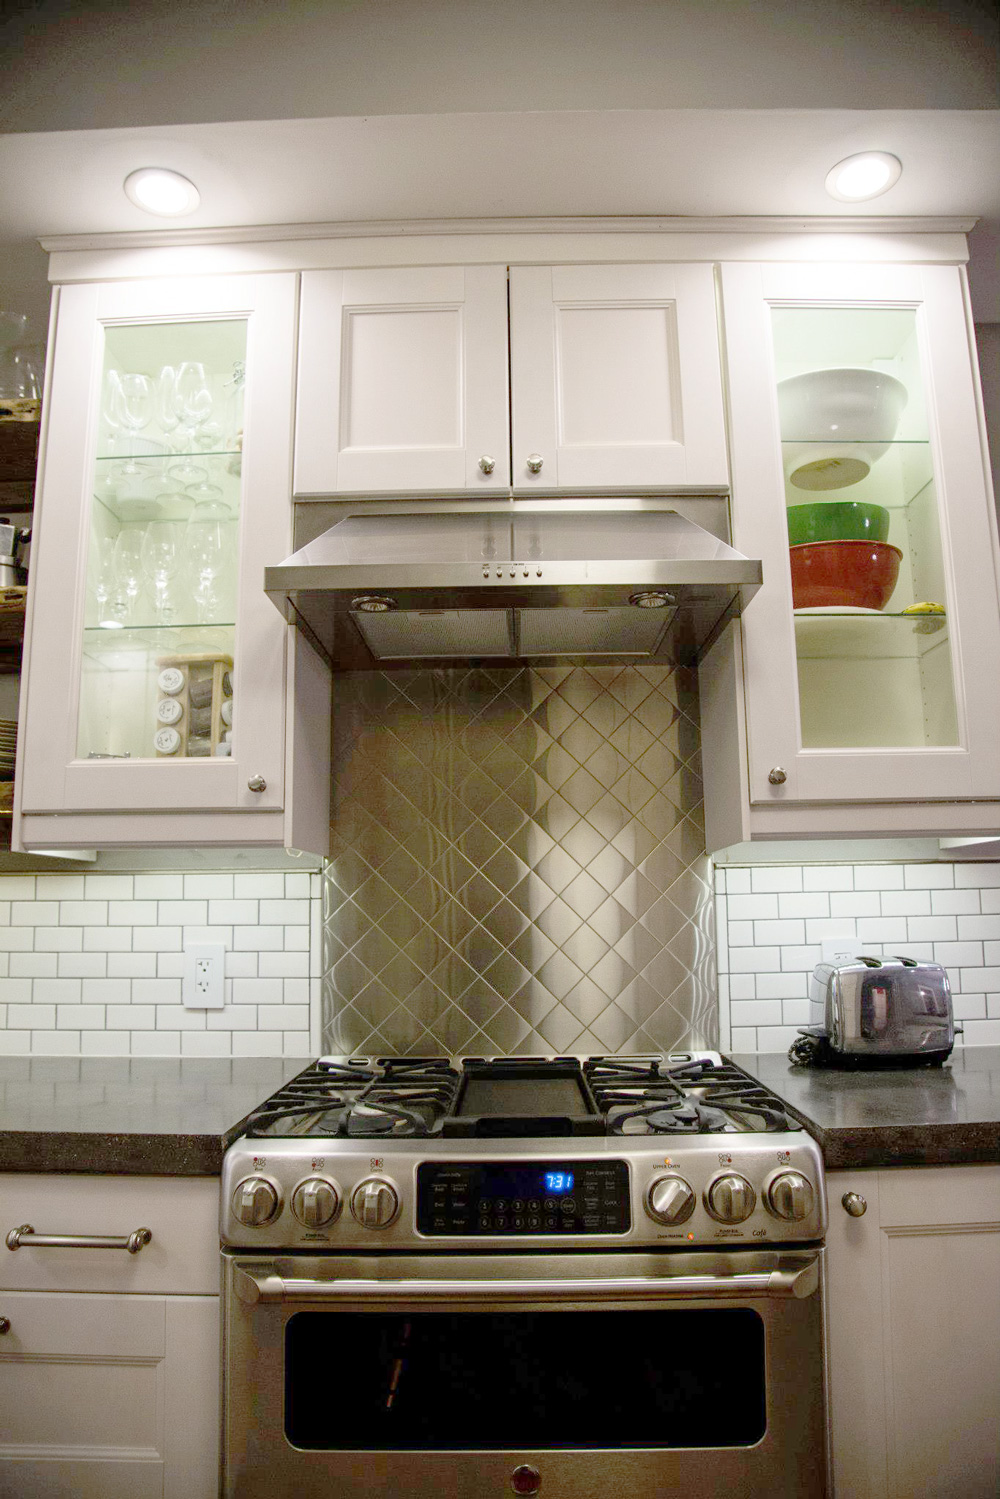
We couldn’t afford a true industrial-caliber range, though we did splurge a little bit on an industrial-looking consumer-grade range. We broke up the tile backsplash with a diamond-patterned stainless steel backsplash, tying the range and hood together.

We wanted a built-in microwave, but the only way to make it look custom without significantly modifying the cabinets was to install a microwave intended for above-range use underneath some shorter cabinets. It proved a nice, cost-effective workaround.

A full-height, full-depth cabinet serves as a pantry adjacent to the refrigerator.
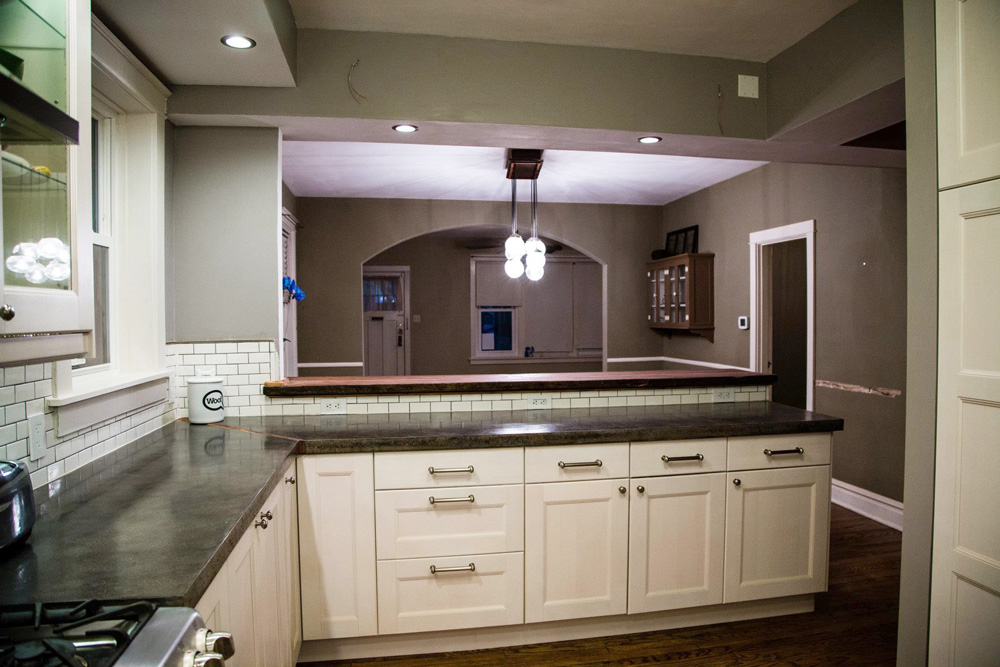
The view into our dining and living rooms.
Fin!
There you have it.
So let’s ring all this up:
| Item: | Budgeted: | Actual Cost: | Source/Brand: |
|---|---|---|---|
| Cabinets | $5000 | $4200 | Ikea (on sale) |
| Concrete Countertops | $6500 | $1000 | Lowe’s |
| Gas Range | $2200 | $3100 | GE |
| Microwave | $225 | $0 | Christmas Gift! |
| Range Hood | $200 | $330 | Maytag |
| Sink | $500 | $370 | Amazon |
| Faucet & Soap Dispenser | $200 | $275 | Amazon |
| Lighting | $500 | $700 | Lowe’s & Schoolhouse Electric |
| Windows & Installation | $1500 | $1120 | Local Installer |
| Stainless Steel Backsplash | $0 | $120 | Amazon |
| Subway Tile Backsplash | 300 | 300 | Lowe’s |
| Drywall, Tape, Mud | 250 | 250 | Lowe’s |
| Lumber & Misc. Materials | $500 | $1500 | (Approximation) |
| Reclaimed Wood | $250 | $100 | Junque |
| Permits | $350 | $350 | City of St. Louis |
| TOTALS: | $18,475 | $13,715 |
The DIY countertops helped us come in way under budget, allowing us to add some extras elsewhere (like an upgraded range). And, of course, we picked up a few-hundred-dollars-worth of tools along the way that aren’t reflected in the budget.
If anything you see here inspires your own kitchen remodel, please be sure to drop us line. We want to see it.


8 Responses
Great project! Your kitchen looks good and it looks like you definitely saved a bunch of money on all the costs. Excellent job!
Hello!!!
Ya’ll are beyond awesome! My husband and I ran across your site, thank God lol. Come to find out, we’re basically doing the color scheme you’ve done (cabinets and concrete countertops). We also have a similar design concept for the lay out as well. Including the breakfast bar. When I saw what ya’ll did, it was like OoO dear! Momma likey!!! It’s Brilliant! (I may have ‘ishly’ inched the computer closer to his face, and calmly demanded to Ready Go Yo!)
So! here’s my thing…we’re also doing concrete counter tops with in the next week or two. I absolutely love the color you did. Is there anyway you can give me more detailed info for choosing the color and the sparkles ya’ll were able to bring out? I’m dying to know what you did! (hand to forehead, totally about to faint because it’s truly that dramatic lol)
Many blessings to you and yours! AND to the upcoming projects ya’ll have!
Sorry for the delayed reply, Jessica. You caught us while we were on vacation. And thanks for the kind words.
Anyway, we wanted a fairly consistent, uniform-looking surface, so we simply added liquid cement color when mixing the concrete and polished until you could start to see the sand, taking care not to grind too deeply, where you’d start to see the larger aggregate. Some people prefer the latter though. The dye we used is available at any home improvement store: https://www.lowes.com/pd/QUIKRETE-Charcoal-Cement-Color-Mix/3018771. That’s the particular color we used, and we used the max amount indicated in the instructions to get the darkest color possible.
But you can do anything with concrete. You can dye it after the fact and get a swirly, granite-like look (I imagine the degree of difficulty is higher). You can add bits of glass or metal when you mix the concrete to give your counters are little extra, shiny interest. You can stamp it with a texture. The sky’s the limit, and I’m not concrete pro, so Google will be your best friend if you want to consider the many, many methods that you might consider.
Whatever you do, give yourself time to pour a couple small test slabs. Small enough that you can do a couple/few at a time, experimenting with different techniques, but big enough to give you a good idea of how it will look. I’d say at least 18″x18″ would give you a good impression of how the full thing might look.
Best of luck!
How did you build / secure the wooden bar to the countertops?
Ken, I’m sorry for the delayed reply. By wooden bar, I assume you mean the breakfast bar? I joined a couple reclaimed 2x10s (pine) with biscuit joints and attached it to the top of the half-wall with screws through the top face of the breakfast bar (counterset and concealed with dowels) and corner brackets on the underside. I hope that helps!
Wonderful kitchen renovation. I love how you do the concrete counter top and adding the charcoal pigment into it. You saved a lot from it. From $6500 budget to $1000 actual cost. Amazing!
The yellow pine breakfast bar is amazing.. Loved that charcoal pigment idea on concrete counter top.. The Kitchen looks amazing…. Great job.
The concrete countertops and tile backsplash look great together. And you’re right the countertops are the gem of the place. It truly brings a lot of character to the room. Nice work!