Kitchen Renovation, Part I: Planning & Permits
RETROSPECTIVE:
This kitchen remodel preceded Hammer & Moxie, so we don’t have comprehensive, quality photos of the step-by-step process. We’ve attempted to recount the experience in as much detail as possible, but we’re relying on fuzzy memories and fuzzier cell phone photos. Though this isn’t intended to be a tutorial, please feel free to ask how-to questions in the comments.
Kitchen Renovation, Part 1: Planning & Permits
Kitchen Renovation, Part 2: Breaking Things & Building Things
Kitchen Renovation, Part 3: The Reveal
Kitchens are bigger today than they were in 1924. Heck, kitchens are bigger than they were in 1994. So it isn’t unusual clear out a wall and borrow a few inches from an adjoining room when renovating a kitchen these days. But what do you do when inches can’t be found? You move the kitchen. Into a master bedroom. That is, if you have a master bedroom to spare.
I’d better back up:
A misplaced kitchen
Our house is a duplex-turned-single-family, which means we have ample space, but since it was built as two separate apartments, the space isn’t optimized for single-family use. Our kitchen was sized for a (1920s) two-bedroom apartment rather than a four-bedroom house. The previous owners started the single-family conversion, and we’ve mostly completed it, but our cramped kitchen was a festering holdover from the duplex era.
If one is a deaf, blind jockey, they might have found it perfectly adequate. That’s to say, if he is diminutive enough move through tight spaces with ease, can’t hear the metal cabinets’ broken tracks rattle and clack each time he retrieves a fork, and unable to notice the rooster trim wallpaper, then it was a splendid space.
WARNING: If you have a moticum of taste, do not look at the following photo.
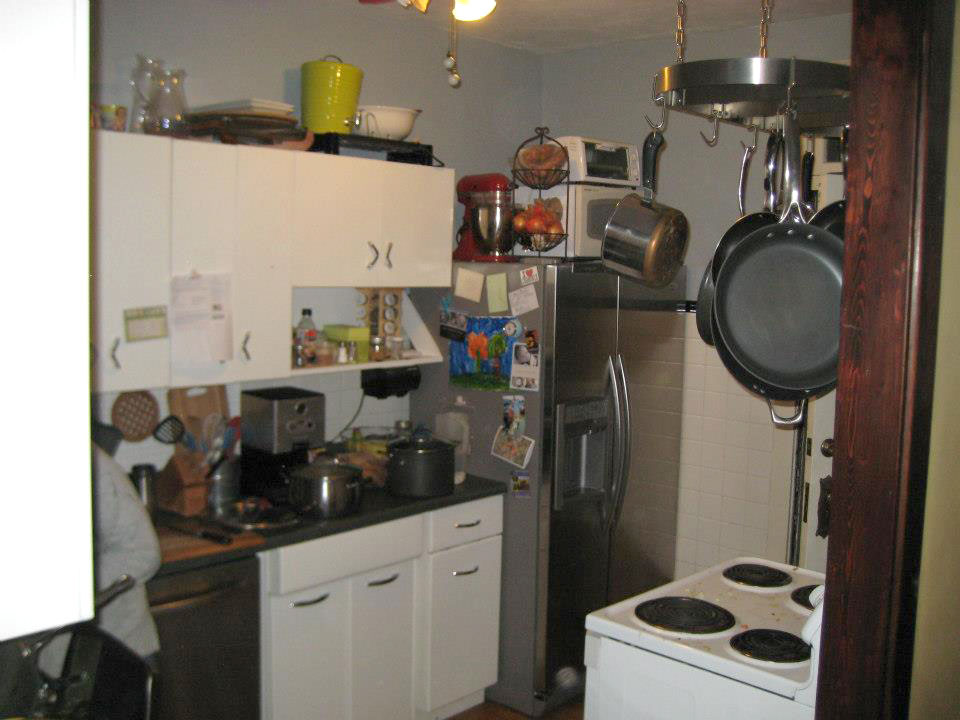
I warned you.
I’m 6’4″, and both Leslie and I can see and hear just fine. We saw and heard that kitchen every day through the first two years of marriage. And I heard my wife complain about it almost as often. Unfortunately, the kitchen was hemmed in by a bathroom, a stairway, and two exterior brick walls. In other words, expansion wasn’t a reasonable option.
But you know what else isn’t reasonable? Moving a kitchen away from the existing plumbing and gas hookups and into a bedroom (which was at the time being used as an oversized breakfast room).
We’ve never been accused of being reasonable.
Planning
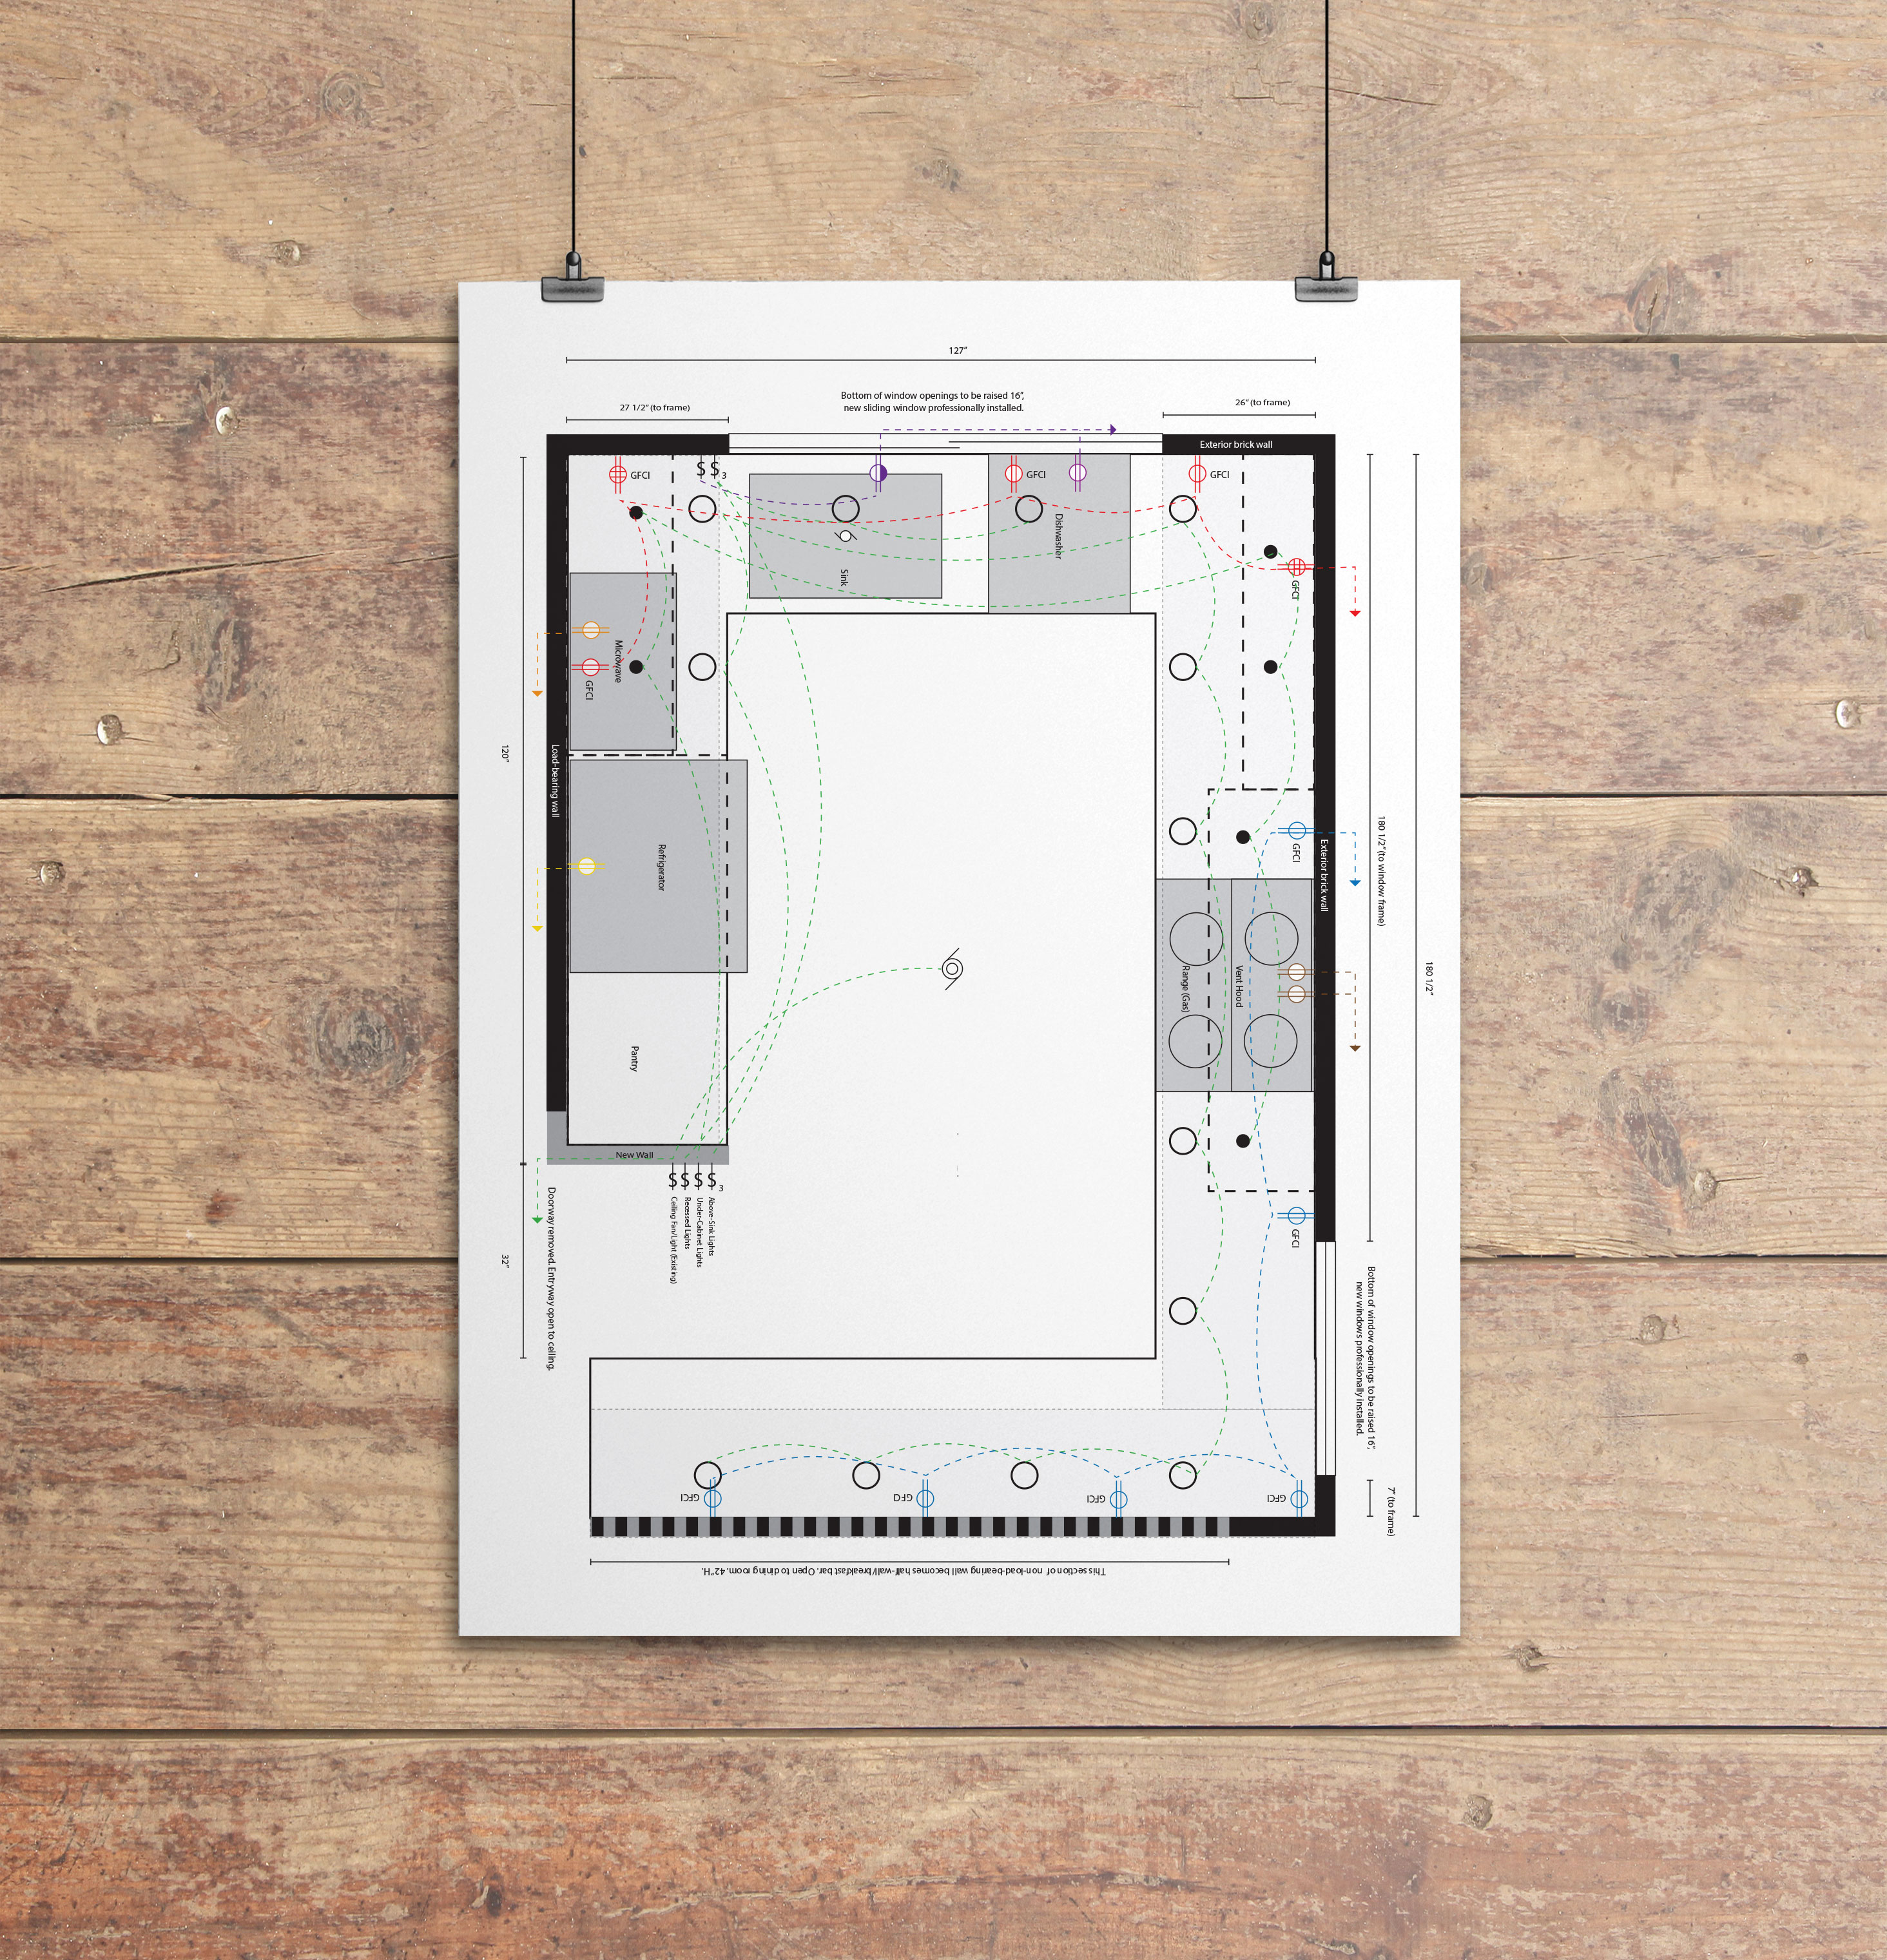
Kitchen Plan: Includes cabinets, appliances, electrical, and walls/windows.
I should first say, we didn’t approach this project with confidence. Confidence bubbled up slowly throughout the planning and prep phase, and honestly, we weren’t brimming with it until the kitchen was finished. But we needed a new kitchen, and we knew we were probably going to be growing our family in the near future, so it seemed like a now-or-much-much-later sort of thing. And we were tired of waiting.
We probably spent two or three months mulling over our plans. We were all over the place at first. Dark cabinets or light? Stained or painted? Granite, quartz, or concrete counters? Gas or electric range? Where to put the microwave? Open shelving or no?
In the midst of this process, we were at our friends’ house who had just completed their own kitchen renovation. Their cabinets, though certainly not custom, looked great. We were surprised to learn they were from Ikea. I mean, they sell some snazzy stuff, but don’t their Swedish meatballs last longer than their furniture? I was equally astonished to learn they carried a 20-year warranty. They aren’t the best, but they’re far from the worst, and for us and our budget, they offered the best value. Once we decided on Ikea for ourselves, we made liberal use of their room planner, which, though a little buggy, was free and allowed us to create countless, 3D kitchen plans and easily revise them on the fly. It helped us to better visualize the vague thoughts in our heads and quickly decide what we liked and didn’t like. And it made changing our minds easy.
I’ll get into more detail in future posts, but here’s the gist of what we landed on in that planning phase:
- White cabinets to brighten our first floor (we lack windows that receive lots of light).
- Open the wall into the adjoining dining room and partition the rooms with a breakfast bar (this would give us a clear sight-line between livingroom, dining room, and kitchen and allow light from the south-facing kitchen window to reach the other rooms).
- Incorporate some reclaimed wood accents, including a little bit of open shelving (the open shelving was a one of our main points of debate)
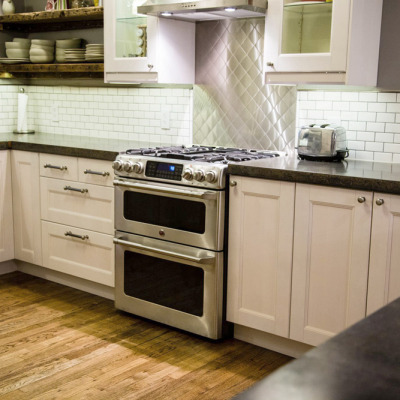
- Stainless appliances including a somewhat pro-looking range and range hood without paying for a professional-grade range and range hood.
- Concrete countertops.
More on each of those later, but I will say that the cost of concrete counters was a revelation in our planning process and enabled us to dive in sooner than we expected. If you commission the creation and installation of concrete counters, you’ll pay granite-like prices, because it is so labor intensive. But if you pour them yourself, you’ll save thousands. Fair warning: you might shave a couple years off your life. It’s hard work. More on this process to follow, but the realization that we would be able to save several thousand dollars allowed us to bump up the start date several months.
Permits
The only part of the project we intended to hire out was the installation of a gas line to the new kitchen and the installation of the new windows. In other words, we were about to dive in way over our heads. The city doesn’t take kindly to over-their-heads homeowners ruining property within their jurisdiction. So if a homeowner intends to renovate without hiring licensed professionals, the city of St. Louis requires he take tests in any involved disciplines (plumbing, electrical, etc.) to prove he isn’t a moron. Accused of being just that once or twice in my life, I resolved to prove the world (or at least the City of St. Louis Building Division) otherwise, reading this book cover-to-cover, as well as this one, along with many electrical and plumbing websites. (I’ve heard the Code Check series is an excellent layman’s resource also.)
Long story short, I managed to pull the requisite permits. As every municipality has different processes and procedures for permitting, I can’t speak to anyone’s specific situation, but I can offer a few general words of advice:
- Know what your municipality requires for a permit. You can probably find what you need online. If not, call and ask questions. Or ask around. Perhaps you have a friend who’s been through the process. Note that different municipalities adhere to different codes and different versions of each code (codes are updated periodically, and some places adhere to the most recent version while others are a few versions behind). You’ll save everyone a lot of time if you get your ducks in a row before you go in.
- Plan. Draw your plans, print your plans (several copies, just in case), show them your plans, and be prepared to discuss your plans. I think this should be obvious, but I get the feeling it isn’t. I almost sensed relief from the city employees when they realized I knew what I wanted to do and had some sense for what it would take to get there.
- Be nice. These people work in city hall. You’ve been to city hall right? So you can picture the types of people they have to deal with all day? If you can put on shoes, smile, and be genuinely cordial, you’ll have a leg up on the angry gentleman with mustard stains on his shirt. And if they reject your plans for whatever reason, show genuine interest in what it will take to make it right.
Numbers 2 and 3 got me a long way on my plumbing permit. I’ll cover this in more detail in the next post, but I faced some serious challenges in tying our sink’s vent into the main stack, as it would have required channeling out a lot of brick (not ideal) and circumventing windows on the way up (remember, we moved our kitchen away from the stack). There are a couple alternate ways to install a vent that are allowed in special circumstances. I called the plumbing inspection supervisor and asked him if he would approve one of these alternate methods, which he initially dismissed outright. But after chatting about the obstacles I faced, I think he understood and appreciated that I had done plenty of research before calling. He told me to specifically request him when I came in to take the plumbing test, at which time he reviewed my plans and agreed that a loop vent would make the most sense in my particular situation. I was reasonable, and he was reasonable in return. Amazing how that works.
If you’re unsure of where to begin in the planning or permits process, feel free to post questions in the comments below. I can only speak from my own experience, so I won’t be able to satisfactorily answer every question, but I’ll certainly do our best.