
Kitchen Renovation, Part 2: Breaking Things & Building Things
RETROSPECTIVE:
This kitchen remodel preceded Hammer & Moxie, so we don’t have comprehensive, quality photos of the step-by-step process. We’ve attempted to recount the experience in as much detail as possible, but we’re relying on fuzzy memories and fuzzier cell phone photos. Though this isn’t intended to be a tutorial, please feel free to ask how-to questions in the comments.
Kitchen Renovation, Part 1: Planning & Permits
Kitchen Renovation, Part 2: Breaking Things & Building Things
Kitchen Renovation, Part 3: The Reveal
As I mentioned in Part 1, we weren’t exactly brimming with confidence when it was time to break things. Leslie figured I knew what I was doing, and I figured the Internet knew what it was doing. Little-known fact: the world wide web consists of more than monkeys picking their butts and cats riding Roombas. The net, as the kids call it, can teach you how to build anything, including a kitchen.
Other than the installation of a gas line and replacement windows, we did everything you’re about to read ourselves.
If you like pictures but hate words, you might want to skip to the reveal.
Point of no return
Deciding to break your house is a lot like jumping off the high dive for the first time. You know the payoff is worth it, but there’s that little coward inside wondering if you can really do it. So, we whacked that inner coward upside the head with a sledgehammer and buried him in a heap of horsehair plaster.
And we were off.

Fairwell, wall. Fairwell, inner coward.
Our dining room was full, and I mean full, of flat-packed cabinets for weeks. We designated a one-foot pathway for inter-room travel (which was often blocked by a 100-lb. dog). On top of that, everything was dirty. Always.
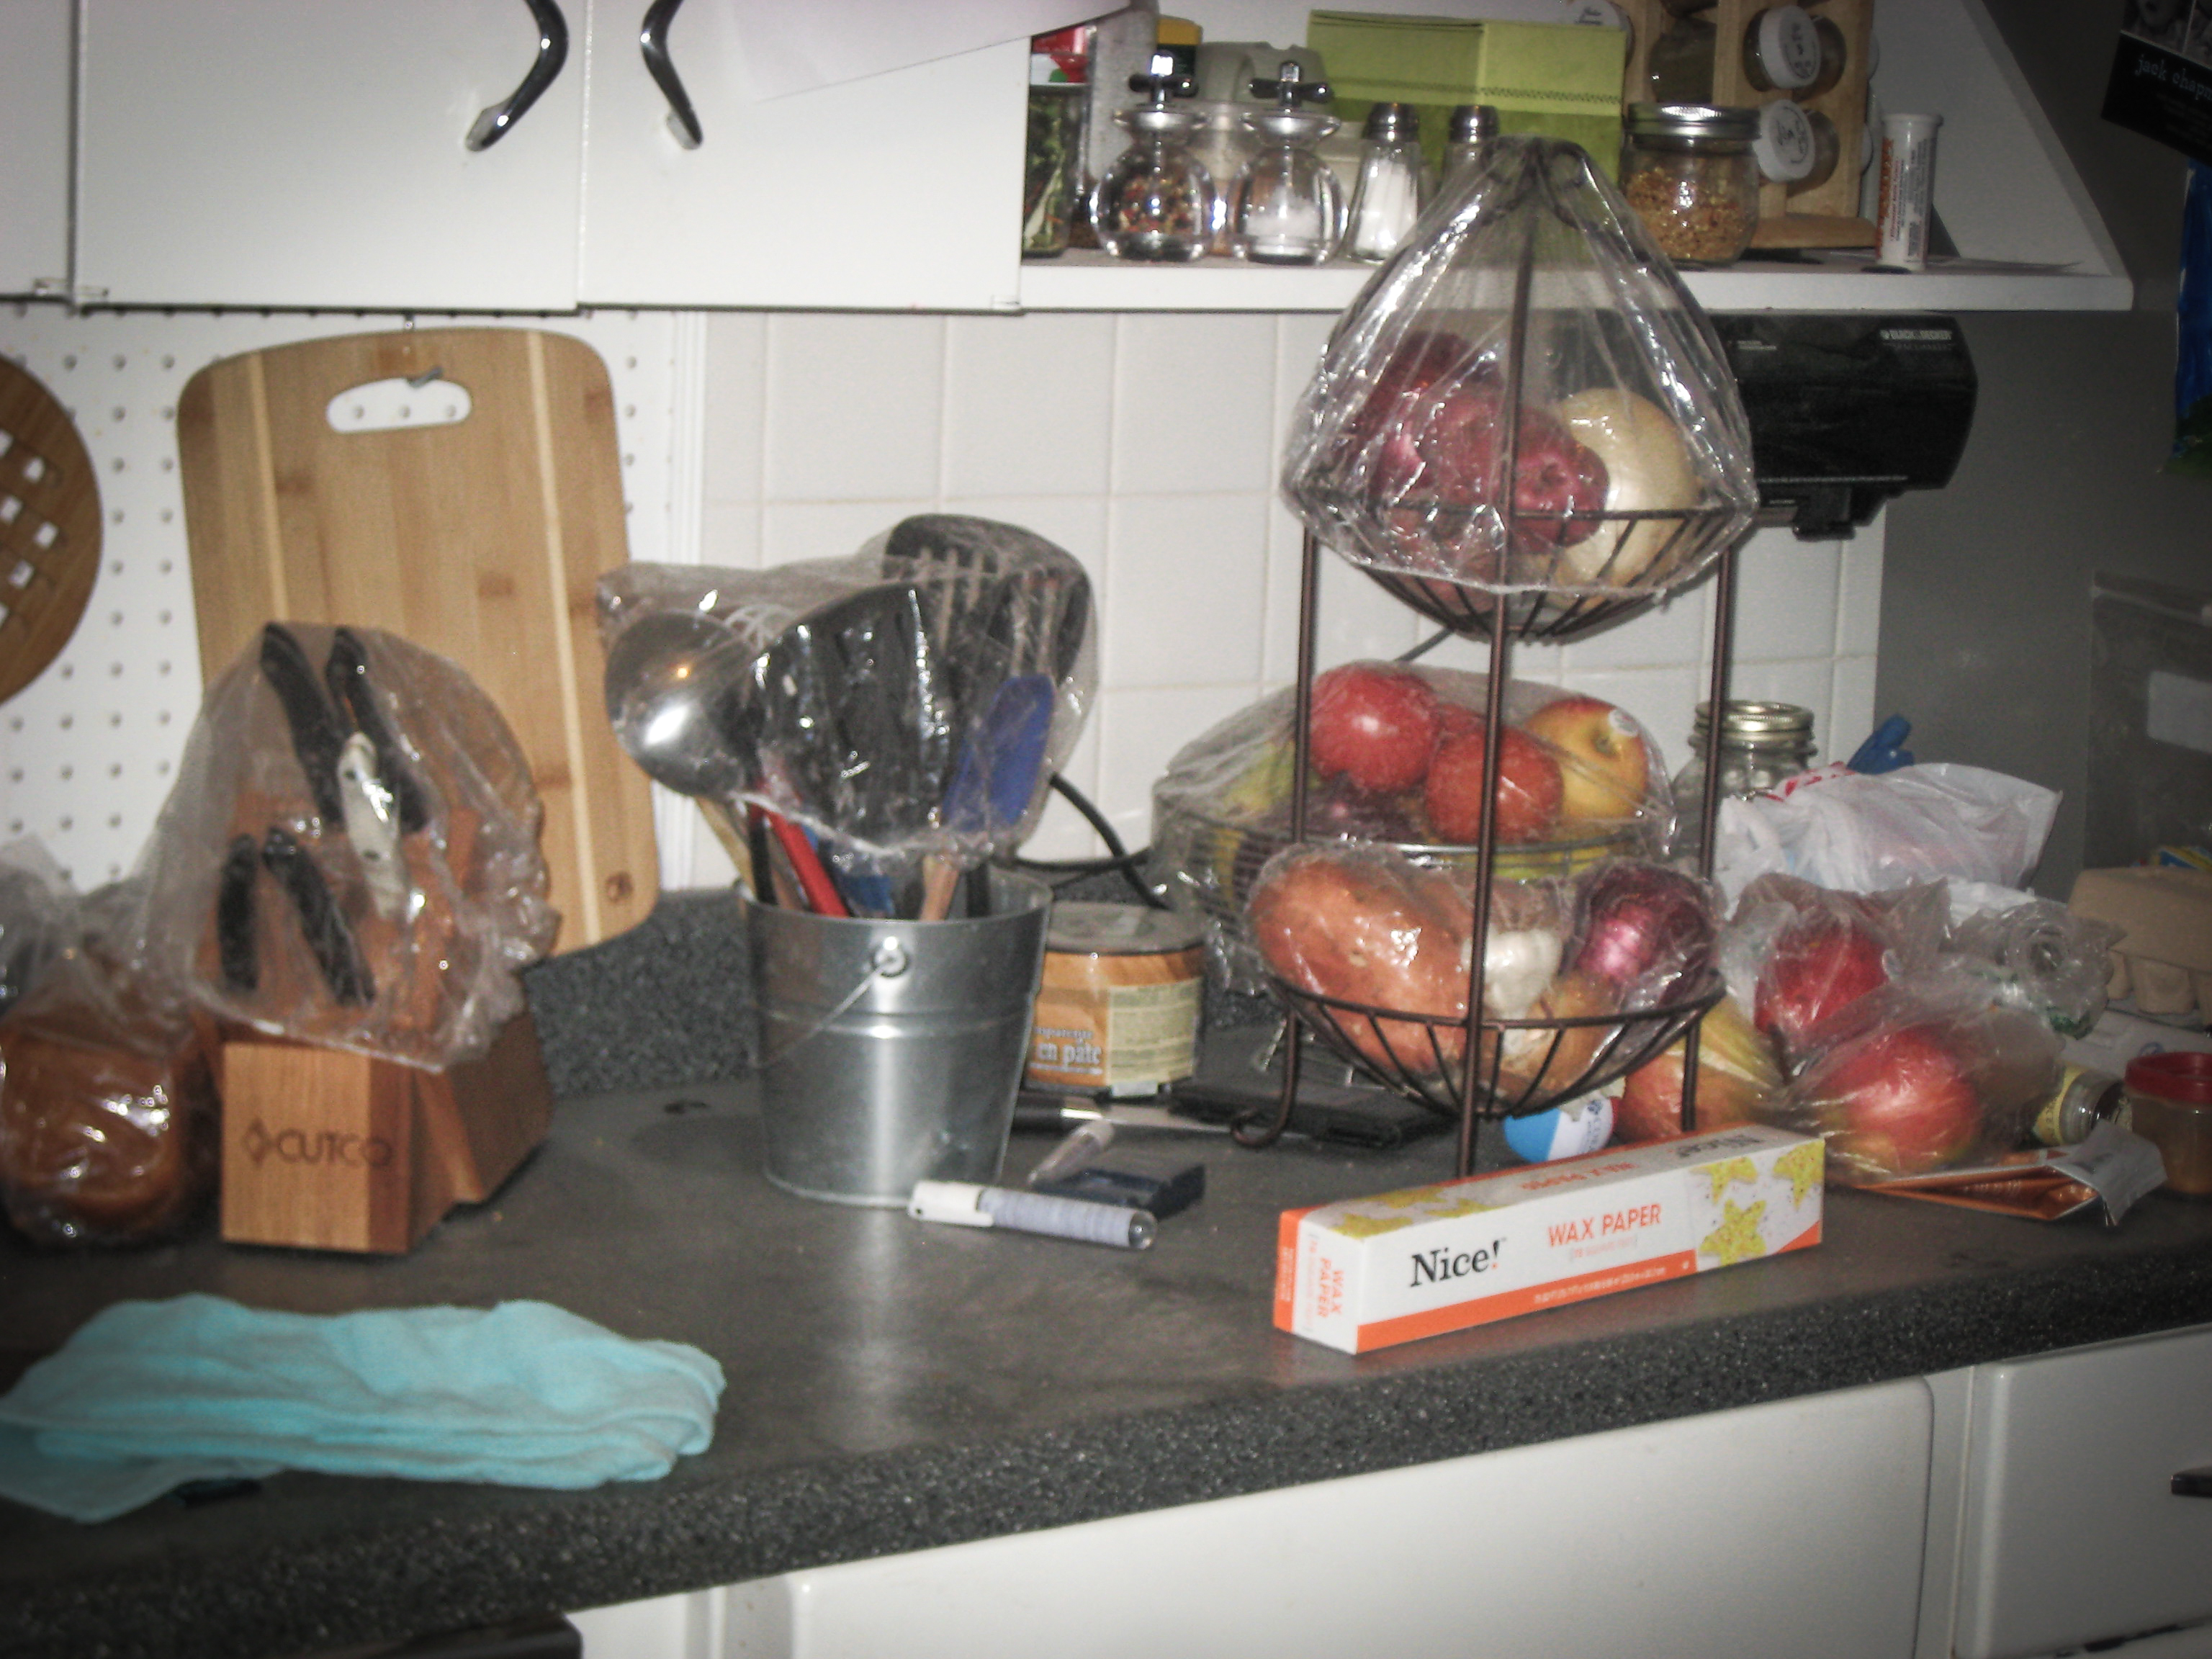
We did what we could to contain the mess.
A wall no more
Opening the view between the large, south-facing kitchen window and light-starved living room was high on our priority list. Not to mention, a clear view from the kitchen would become important when kids entered the picture. You might call it an open concept, but I have a hard-to-justify disdain for that term. I think it’s because DIY television has abused it so. Every single house hunter says (as if they’re the only forward-thinking design maven to have such evolved taste), “We’d really like an open concept.” Yeah, what a novel concept. If you’re a human in the 21st century, you want an open concept. I do, you do, we all do. Anyway, time to stop quibbling about semantics and open up that wall:
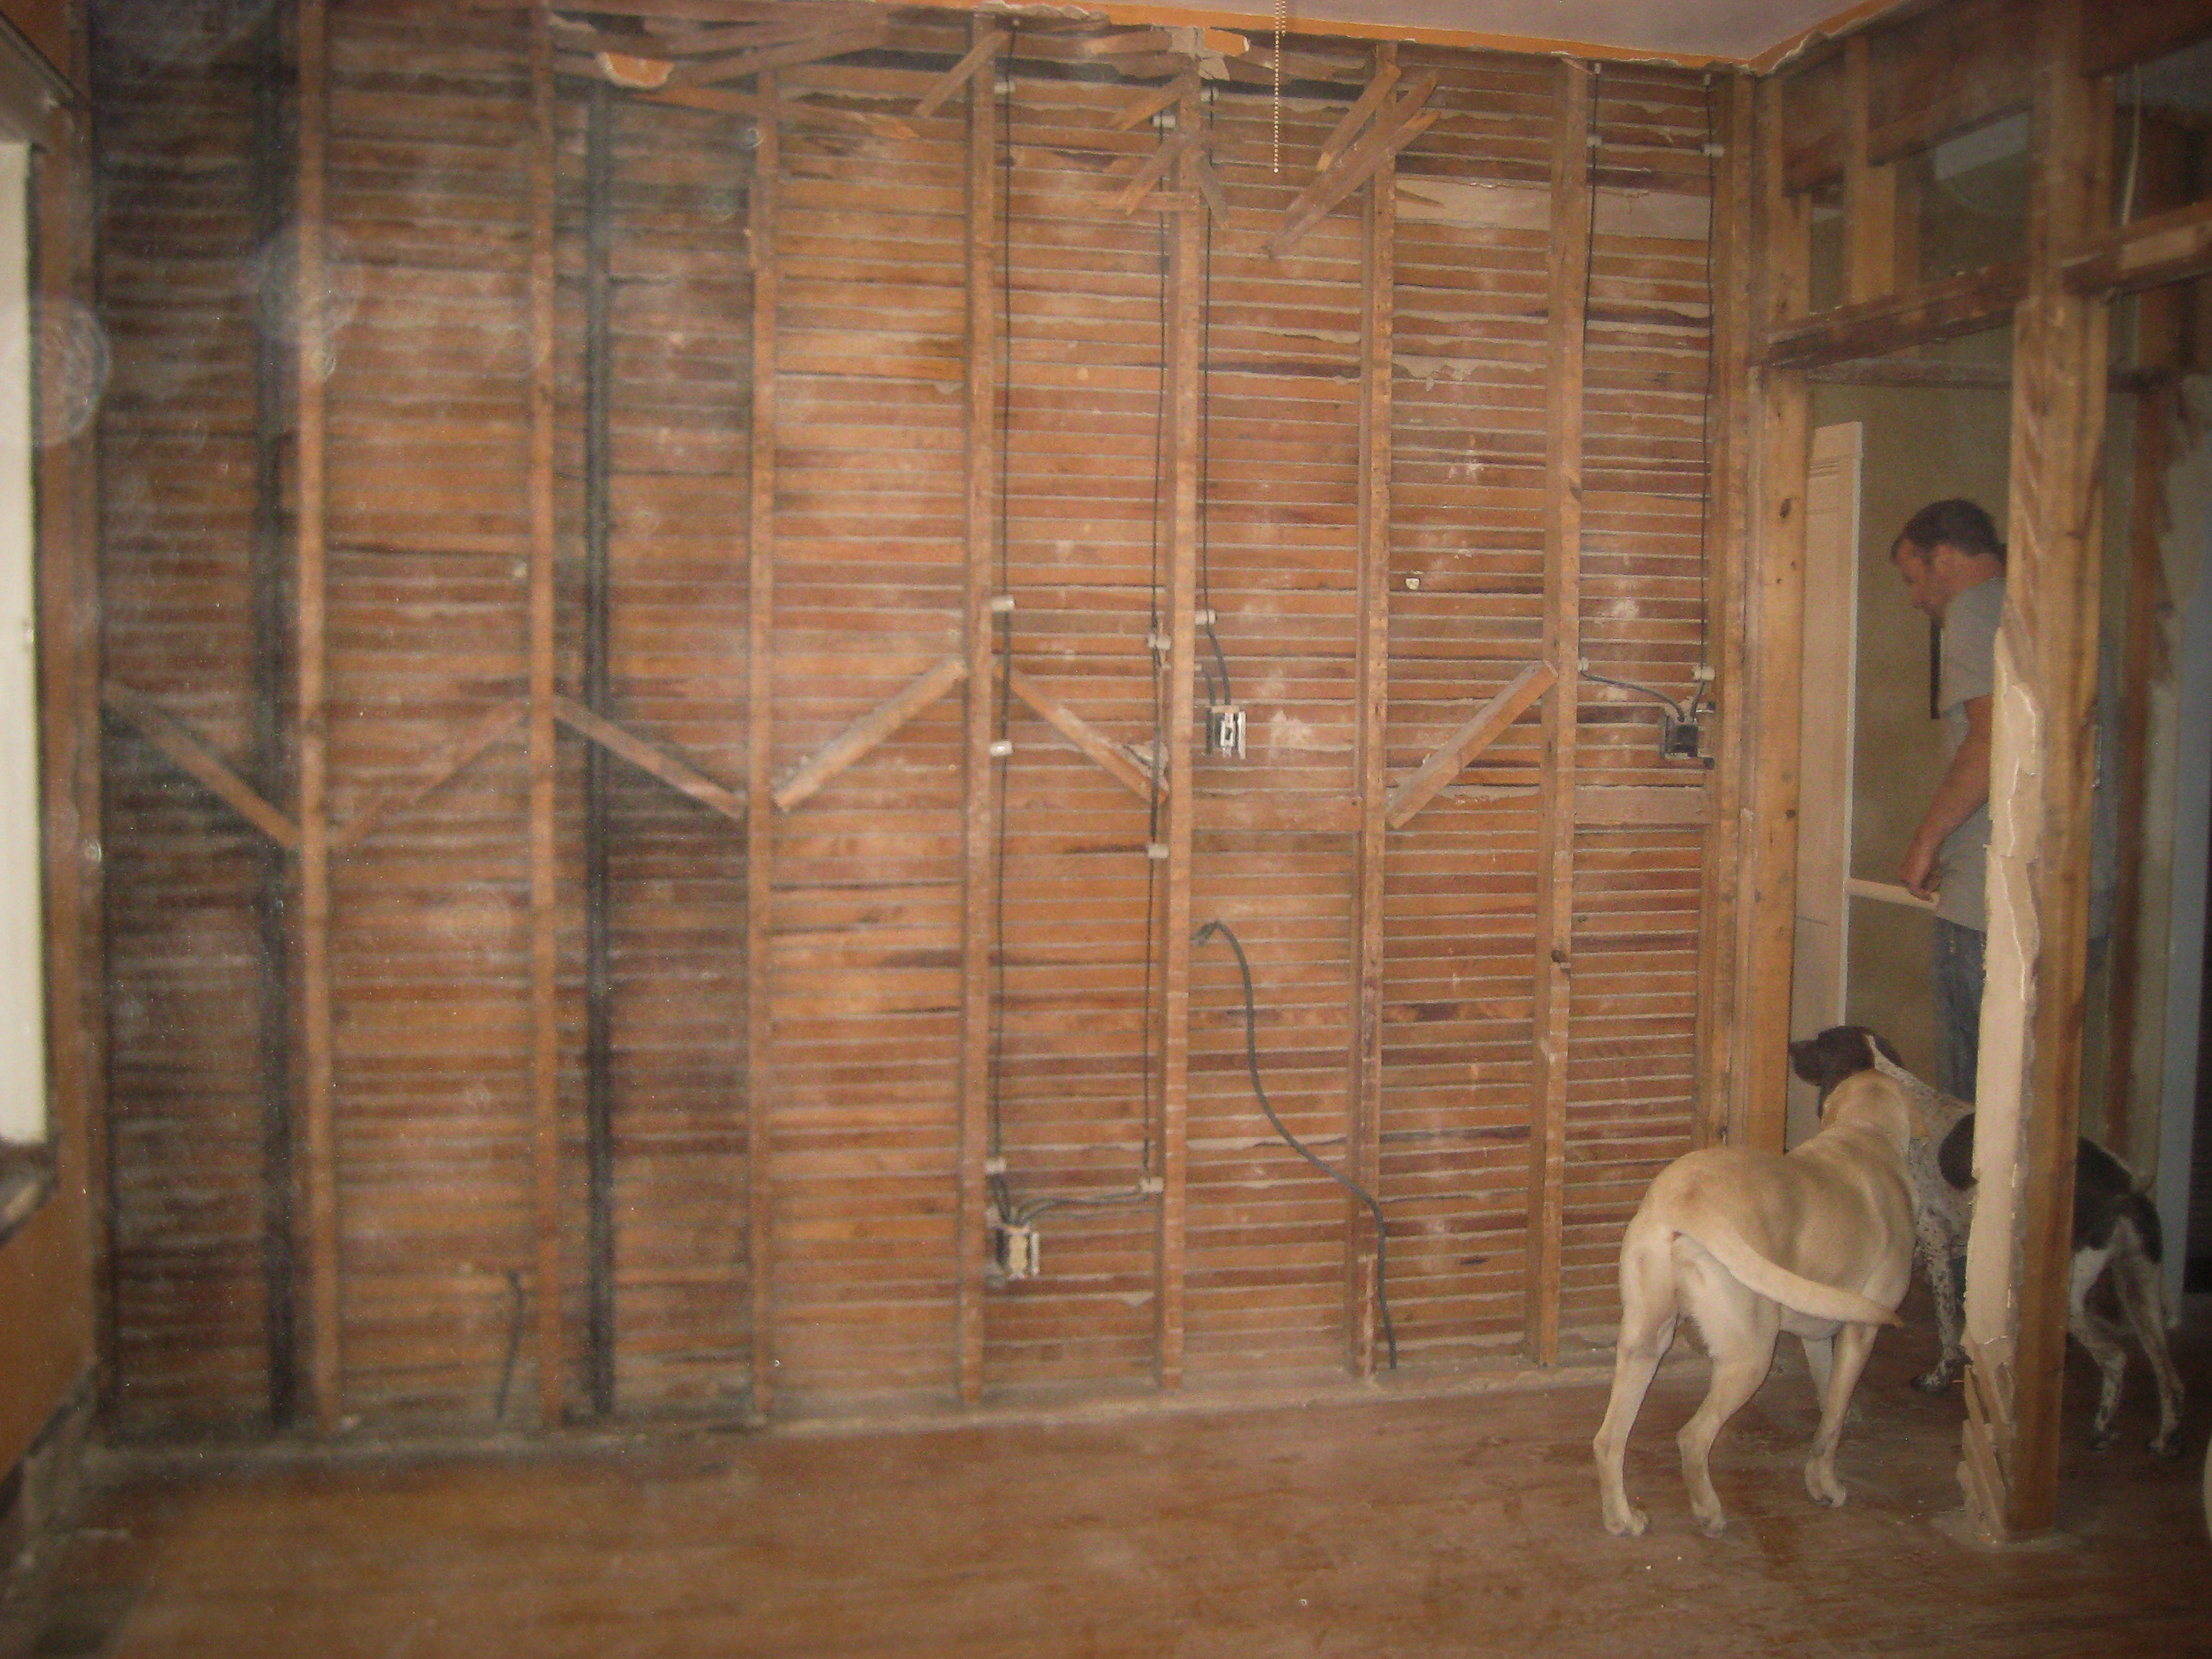
We reduced the wall to half-height to accommodate a breakfast bar, removing plaster and leaving the studs until we were ready to install the headers. Headers, for the uninitiated, are kind of important. When a load-bearing feature is removed (like certain walls), a header is a beam that prevents your bedroom from occupying your dining room.
We had to install two headers: one long, one short, perpendicular to one another.
It didn’t matter how confident we were in our work, a tiny voice of doubt in the back of our heads grew quite loud when it came time to remove the support for the load-bearing header. When that jack came out and the upstairs remained upstairs, we both breathed a sigh of relief, and I changed my pants.
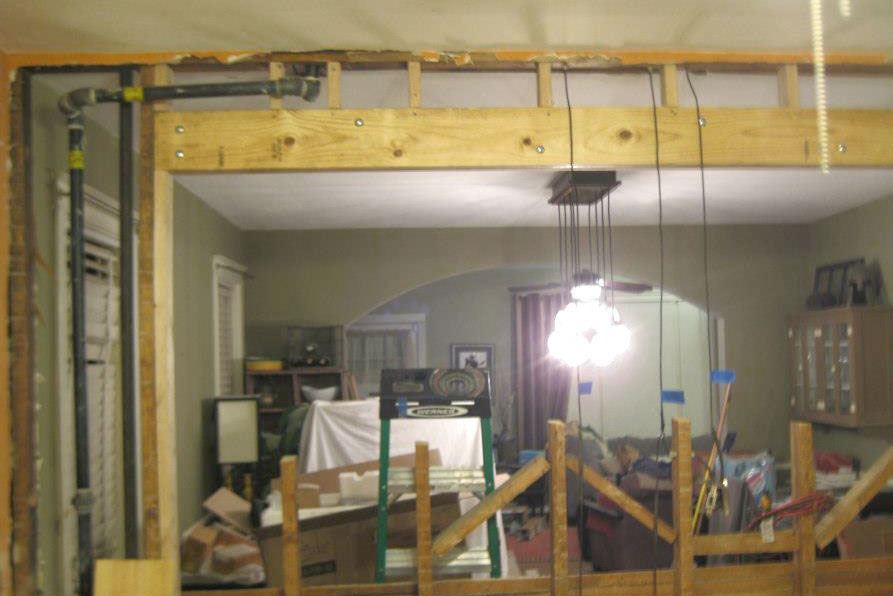
We spaced this header with cripple studs (the small studs across the top) to allow space for rerouted plumbing and electrical.
The tale of a stupid, lousy pipe that we hate, because it’s stupid
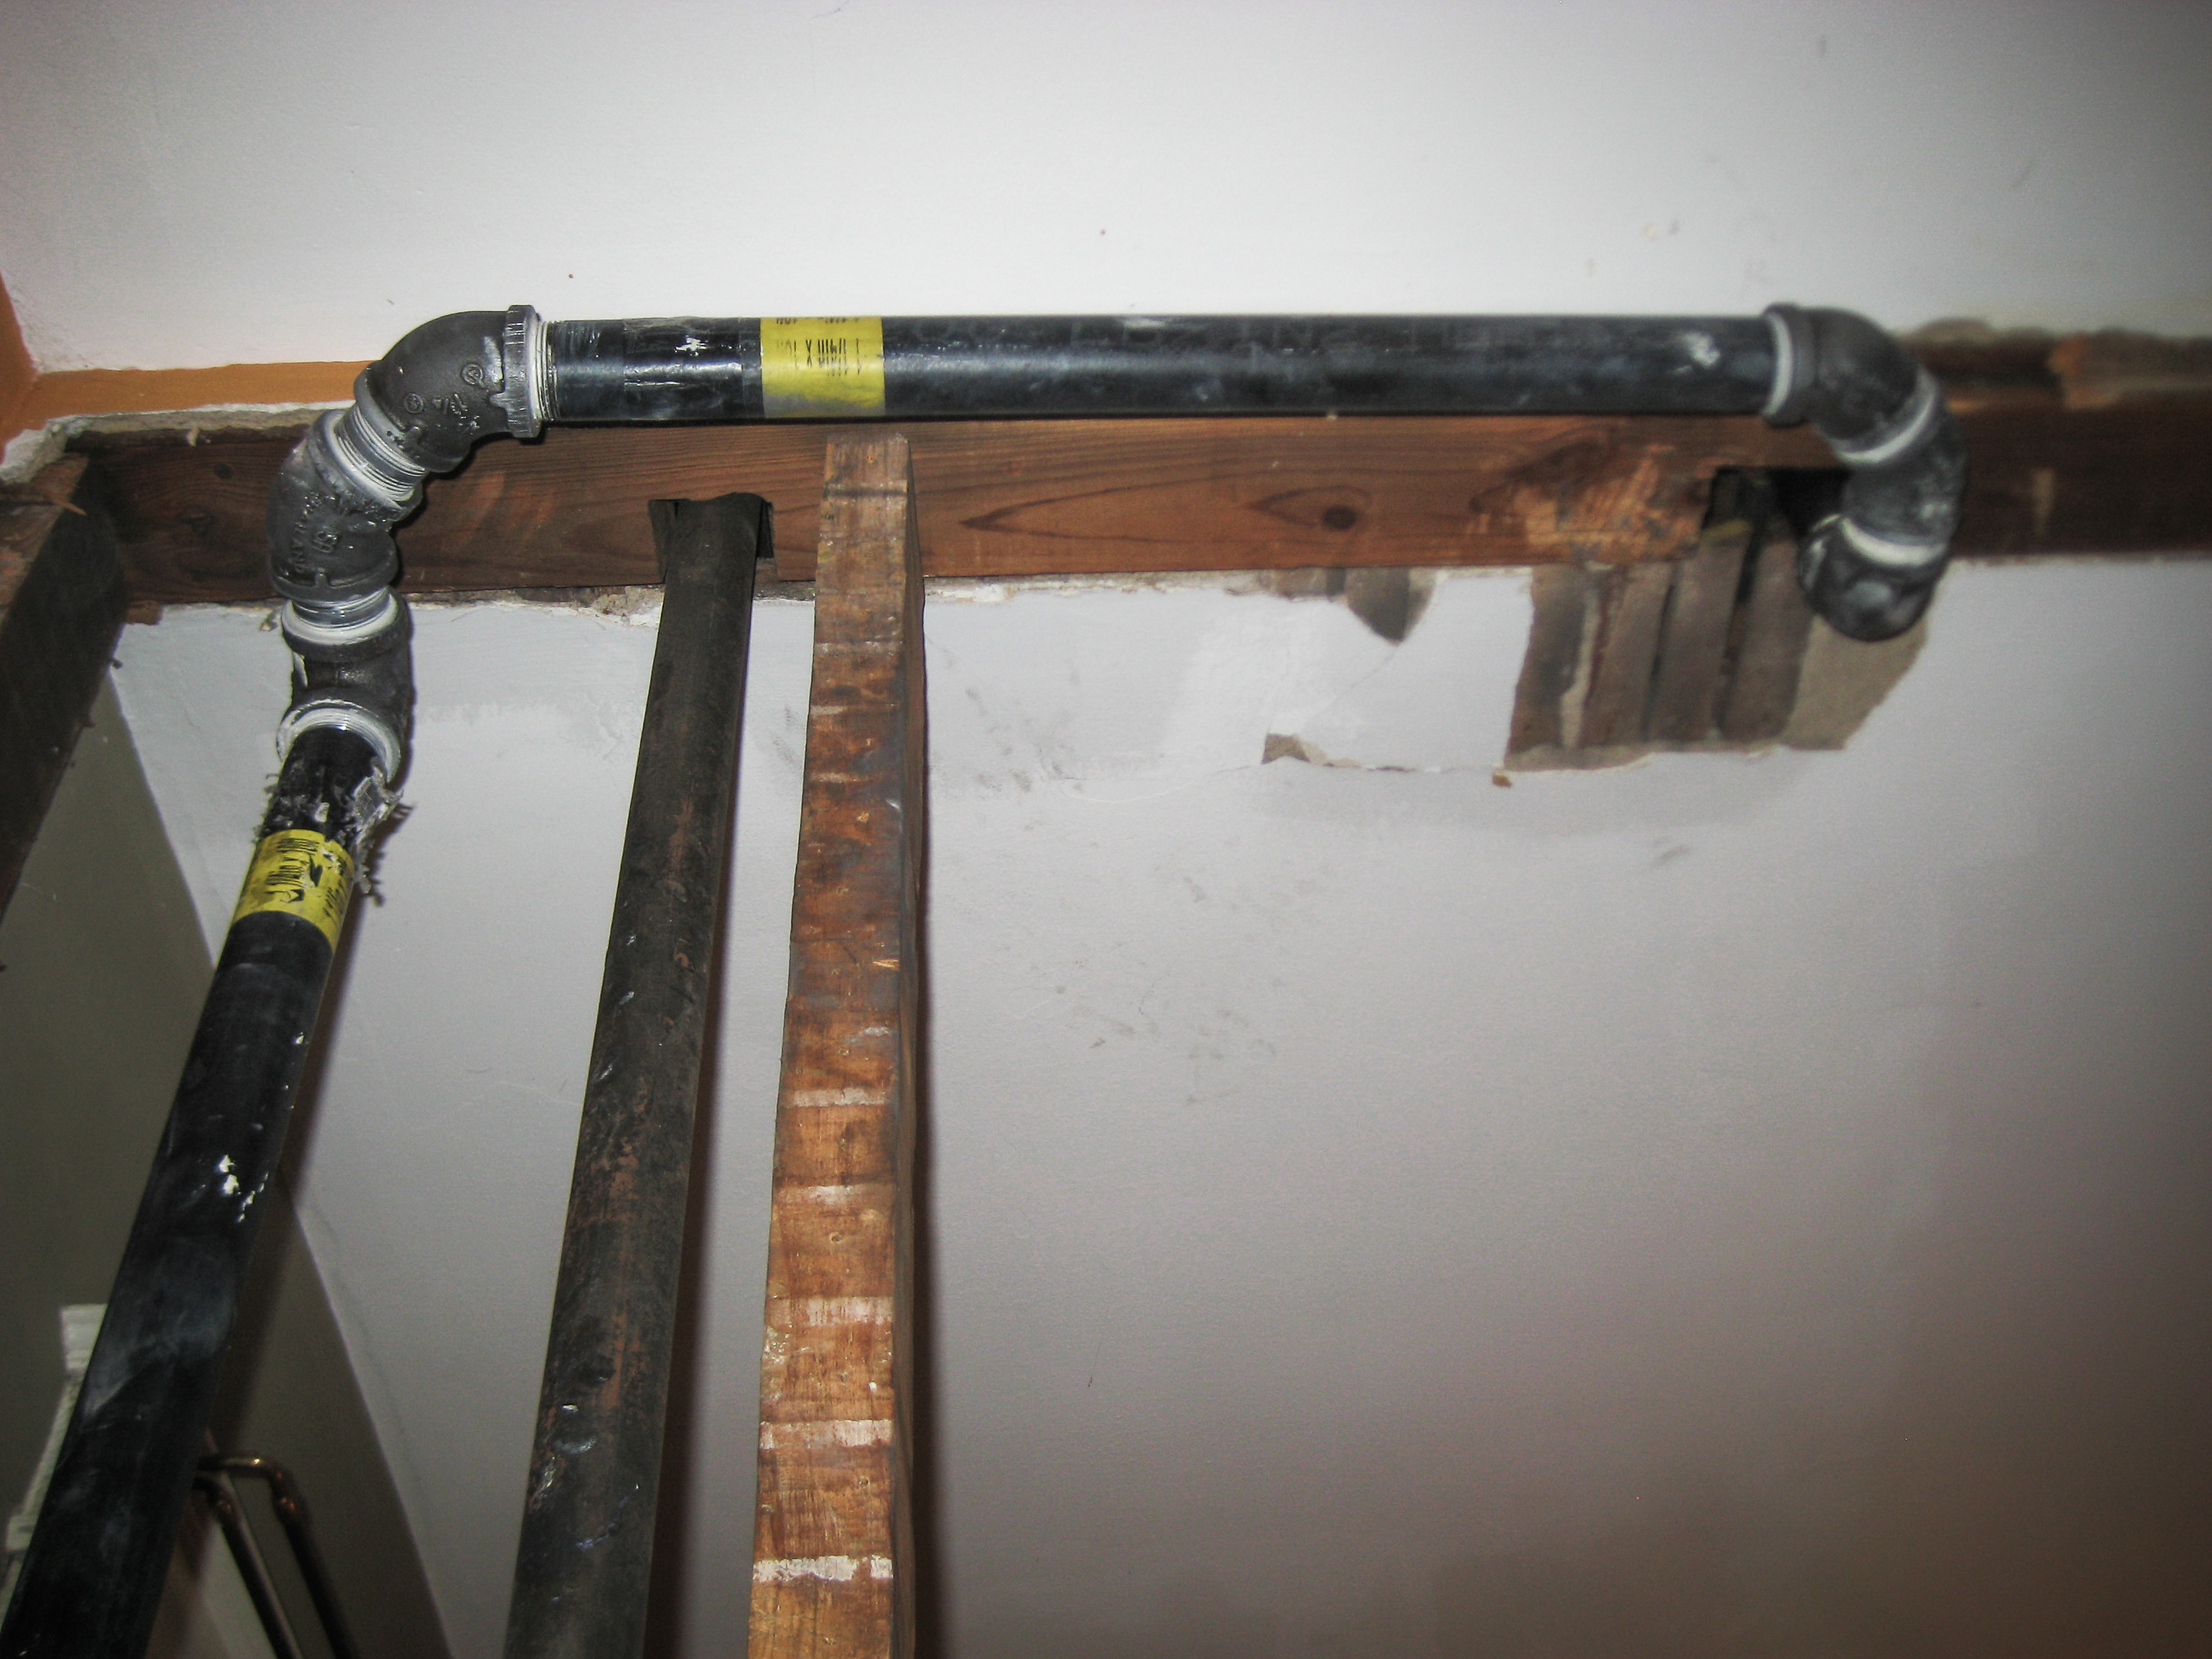
Naturally, some old wires and pipes that used to live in the wall had to find a new home. The wires weren’t such a big deal, but inside that wall was a 1-1/2″ cast iron radiator pipe (commonly called “black pipe”) that needed to move a couple feet over. Moving other types of pipe is one thing, but black pipe is heavy, unwieldy, and evil. Dante didn’t clarify in his Inferno, but punishment for those in the seventh ring of hell included working with black pipe for all of eternity.
The second pipe from the left had to be moved into the same stud bay as the first pipe.
Removing the old pipe—supposedly the “easy part”—was anything but. The threaded joints were decades old and beyond stubborn. It took a large pipe wrench and a lot of heat from a blowtorch to coax them into budging.
TIP: If a pipe wrench and blow torch still aren’t doing the job, consider using a breaker bar to lengthen your lever. Simply slide a length of rigid pipe (black pipe or galvanized steel work well) over the handle of your pipe wrench for added leverage. Physics!
The new pipe had to make several bends on its way to the basement, not unlike that old Windows screensaver where squiggly pipes take over your screen. Black pipe joints are threaded connections, so each bend required threading two pipe ends, joined with a fitting. We rented an electric pipe threader and spent every last bit of a Saturday rerouting that pipe. Working with black or galvanized pipe is exhausting. We will probably pay someone too much money to do it for us next time.
It doesn’t look like a day’s worth of work.
TIP: When working with water-carrying pipes, avoid sharp 90º turns wherever possible. Sharp turns can impede flow and lend themselves to knocking. If space allows, use two 45º connections to create a more gradual 90º turn (or, if working with PVC, you can use a long sweep elbow).
New windows
The bottoms of the old windows had to be raised to above counter height. Framing for the new (energy efficient!) windows was pretty straightforward. We had the dimensions of the new windows and simply framed a mini-wall within the old window opening to raise the bottom. That was filled with insulation, and any gaps around the edges were filled with spray foam. We sheathed the outside in OSB, which the installers then clad with aluminium.

Window opening, framed for the new window.
Though we could have managed the window installation ourselves, we could not have wrapped the exterior with aluminum as nicely as the professionals did, so contracting this part of the project was money well spent. And we saved a couple hundred dollars by removing the old windows and framing the rough openings ourselves.
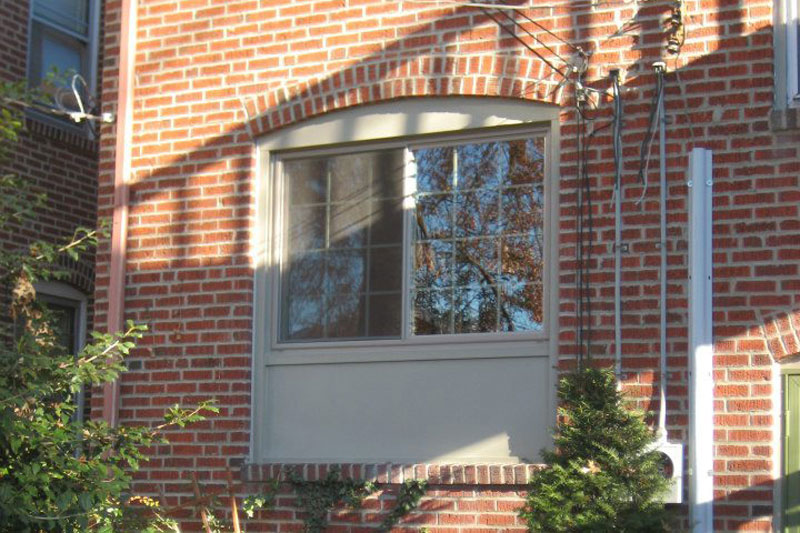
Finished window.
Soffits & drywall
We debated between opening the ceiling in order to run new electrical or building soffits in which we could easily run wiring without demolishing the ceiling, opting for the latter.
Soffits, once common above cabinets, get a bad rap these days, and we generally agree that they’re usually just space-eating eyesores. But we tried to use ours to create engaging lines within the kitchen design. Form and function can work hand-in-hand, right? (See the finished photos.)
Since the primary view of the kitchen is from the living and dining rooms, a large picture window on the opposite wall is a natural focal point. Its location dictated our design decisions. So, rather than continuing the soffit all the way around the room, two soffits terminate at the picture window wall, creating lines that take the eye to the window without crowding it.
We still had to run wiring from one soffit to the other, so we linked them with a faux, hollow beam made of reclaimed wood. The beam became a nice accent from which we could suspend a charming schoolhouse pendant light in front of the window. So, the lines of the soffits guide the eye, while the window, beam, and light work together as a focal point (see “Kitchen Renovation, Part 4” for photos).
We also like the way the soffits create a tiered look with its various planes.
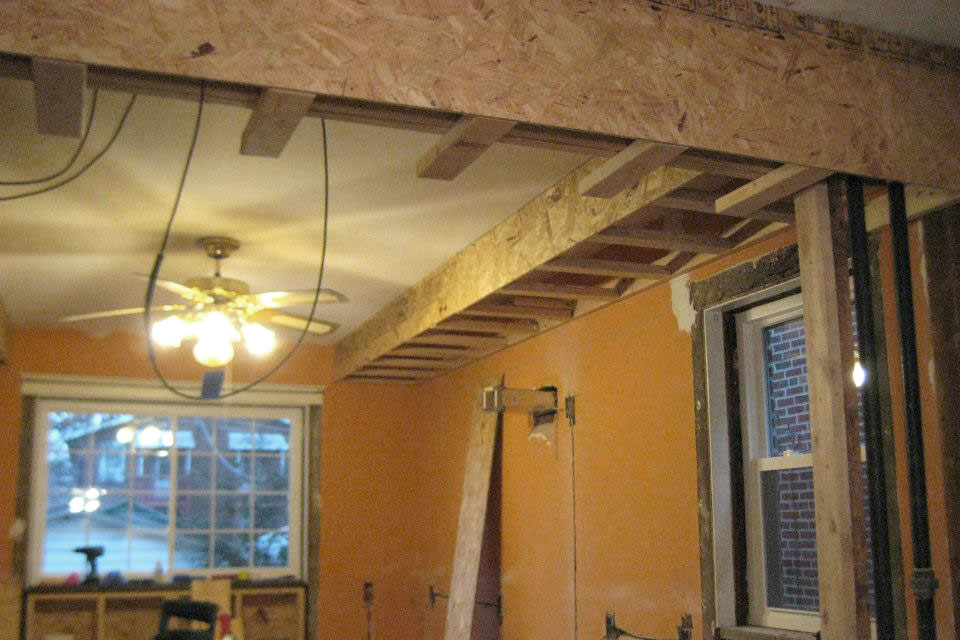
Soffits under construction. There are many ways to build a soffit. We chose to use OSB for the sides and 2x4s for the bottoms. The soffit on the right is one of two that guide the to the picture window.
Lighting & Electrical
We ran all new electrical throughout the room, careful to adhere to code requirements. Channeling out brick to run new cable along the exterior walls covered much of our downstairs in brick dust, despite our best efforts to quarantine the mess.
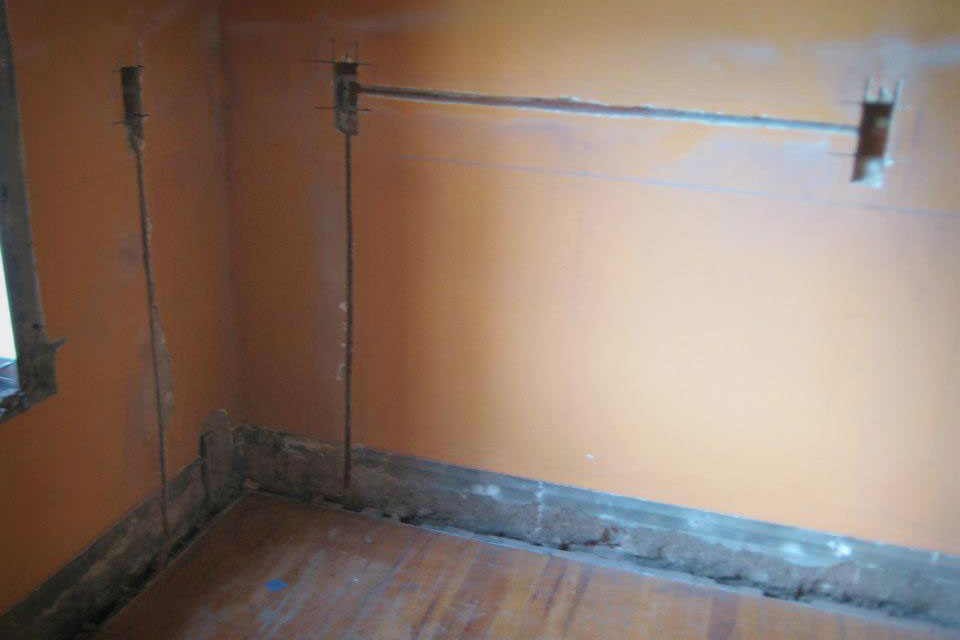
Channeled brick for running electrical cable and installing receptacles.
As for lighting, we installed a main ceiling light (another schoolhouse-style fixture), above-counter recessed and pendant lighting, and LED strip lighting under the cabinets and inside the two glass-front cabinets. If you’re contemplating under-cabinet lighting, I’d strongly recommend steering away from the expensive kits you can buy at the big box stores, and instead purchase a roll of inexpensive, adhesive LED strip lighting. You’ll need a 12V DC transformer, a soldering iron, solder, and some small-gauge speaker wire (or similar). You’ll save quite a bit of money, and it provides a much more even, continuous light than more expensive alternatives.
Plumbing
Sinks have to be vented so as to allow backed-up sewer gas to escape through a stack in the roof rather than into your living space. Vents go up (usually), drains go down. Figuring out how to get a new vent from the sink to the attic proved a tall order, as it would have required channeling out loads of brick to run the vent pipe up the exterior wall.
However, when a traditional vent is impossible (like on a kitchen island), there are alternate venting options: 1) air admittance valves (AAVs) are mechanical valves that you install under your sink, but some municipalities don’t allow them, as they’re prone to fail given time; or 2) loop vents allow you to run the vent pipe down into the basement (rather than directly to the roof) where you can then tie into the main stack (which runs to the roof).
I could have kissed the plumbing inspection supervisor when he approved the loop vent in our plans. He didn’t have to, but he understood how difficult installing a traditional vent would have been.
We ran copper for the new water lines, though PEX would have been a suitable, easier option, and I certainly wouldn’t fault anyone for favoring PEX. Copper allegedly lasts longer, but it doesn’t get much easier than PEX snap- or crimp-style connections. I also would have burned myself a lot less.
Hot solder is hot. I have scars to prove it.
Drywall
Prone to neither hyperbole nor negative thoughts, Leslie isn’t one to throw around the word “hate.” But that girl hates her some drywall.
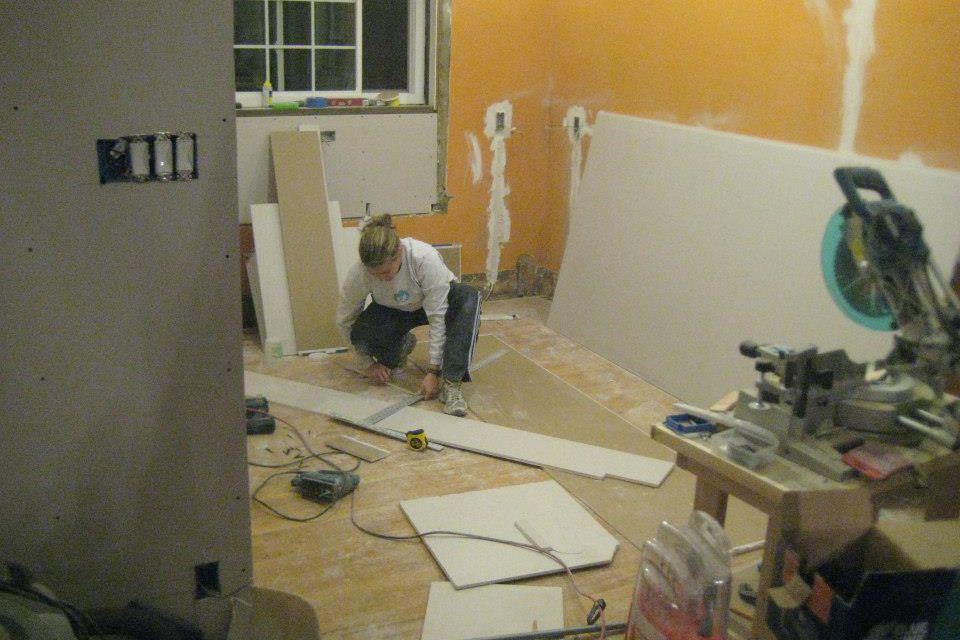
A low point in Leslie’s life.
Drywall is a doable project for most DIYers, but a professional can hang, tape, and mud drywall in a very small fraction of the time it takes us mortals. And we had to repeat the mudding and sanding process several times before it was right.

Corners are the tricky part.
But, like I said, it’s doable. We did it, we just didn’t have much fun doing it. There are some imperfections that we will forever notice, but no one else will (or they’ll at least be too nice to point it out).
Cabinets
We stretched our dollar a little further by purchasing Ikea cabinets, but the tradeoff is that they require assembly. The instructions are comprised entirely of iconography and illustrations. Following Ikea instructions is like reading a 13-year-old’s emoji-only text conversation. But, they’re surprisingly easy to decipher, and almost all the of cabinet boxes are assembled in approximately the same way. After you’ve figured out one, you can switch your brain to autopilot for the rest of the multi-hour journey. It’s worth mentioning: we glued all joints for good measure, because we still had a hard time believing those things were as sturdy as advertised.
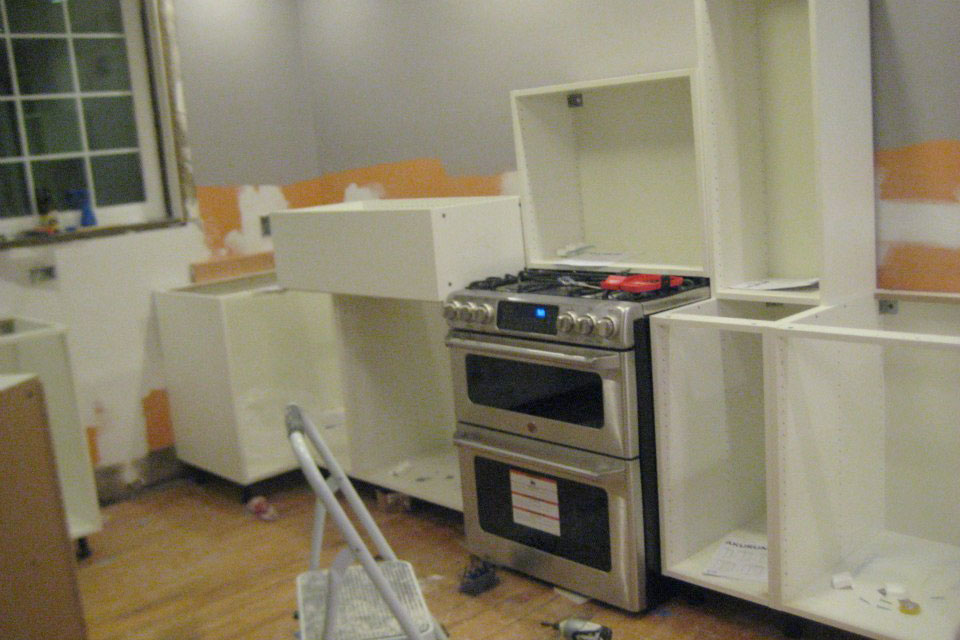
Ikea cabinet boxes under construction.
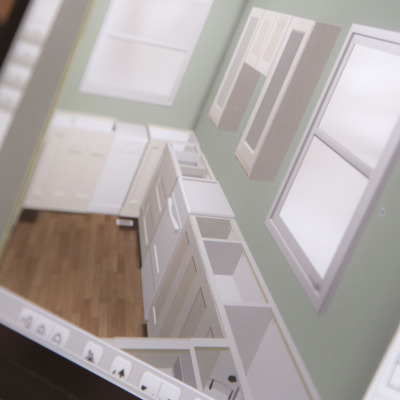
The Ikea cabinet system is fairly ingenious. Every one of their lines is built on the exact same skeleton—they all use the exact same particle board boxes. The fronts, trim, hardware are what change, and their prices vary as much as their styles. The possibilities border on limitless. And the hardware is fantastic, including the soft-close drawer and door dampers.
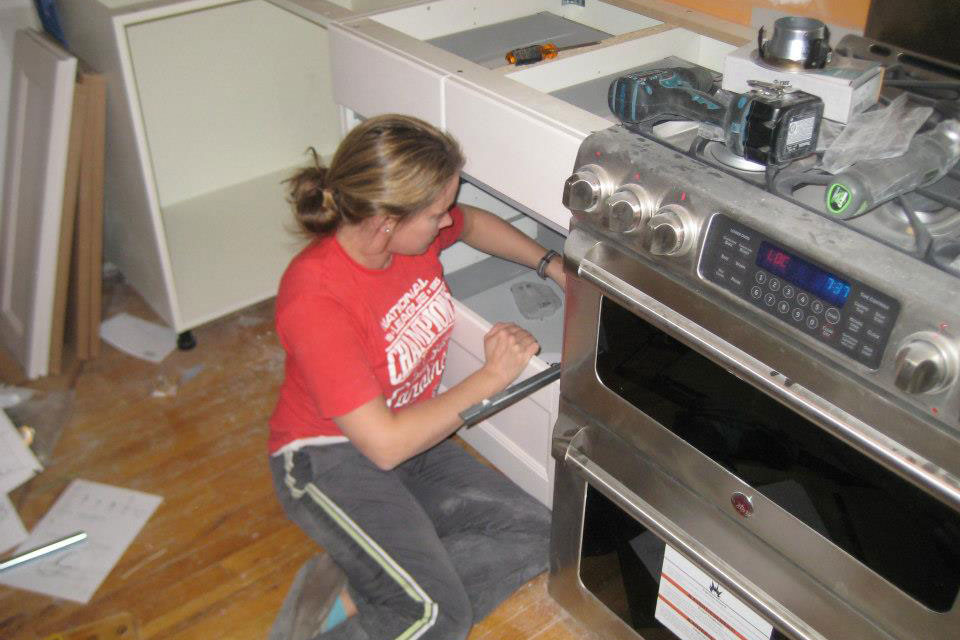
Leslie is the cabinet queen.
We also liked the adjustable foot system. Rather than shimming the lower cabinets to get them level, they rest on feet that can be independently adjusted. A toe kick conceals them.
We finished the cabinets with some homemade trim along the top to make them appear more custom. And we modified a lower cabinet to become a pull-out drawer for the trash can. See Part 4 for the finished product.
Reclaimed Wood Accents
We’ve become semi-regular patrons of a place in town called, simply, “Junque.” We call it hte Junk Sale. Housed in a partially-vacant brewery, the owner has a lot of, well, junk. Old furniture, doors, fixtures, whatchamacallits, whozits, and whatsits galore. And, of course, old wood. If someone is demolishing an old building (happens a lot ’round these parts), they call him, he scavenges the old wood and sells it to yuppy homeowners like us.
From this reclaimed wood, we built a breakfast bar, open shelving, and the aforementioned faux beam (detailed photos in Part 4). It was all yellow pine (cheap) but rife with character in the form of nail holes, gouges, kerf marks, and all manner of delightful imperfections.

Reclaimed wood beam
We had a long discussion about whether to include open shelving in the plan. I wanted a contrasting feature on that wall rather than a continuous bank of white cabinets. Leslie wasn’t entirely on board with that vision (since Ikea doesn’t sell 100-year-old floor joists, we couldn’t preview this part of the plan in their room planner app). After a lot of “just trust me’s,” she relented, and she admits she’s pleased with the result. The shelves, like the soffits, provide additional lines guiding the eye toward the picture window.
The reclaimed wood accents continue to be one of the most popular features of the kitchen (as judged by our Facebook friends), and we couldn’t be happier ourselves.
Homemade Concrete Counters
Last, but far from least, our hand-poured, DIY concrete countertops are our biggest pride point.
We poured a couple small test slabs to hone our technique and experiment with coloring and finish.
From start to finish, it was about a month-long process: a day to build the forms, another day to mix and pour the concrete, a few weeks for the concrete to cure, and a couple days to polish, fill any imperfections, and polish again. All in all, we spent a little over a month on these beasts.
And they are beasts. The largest slab weighs in at about 400 lbs. We recruited eight guys to help move them from the basement.

Hand-poured concrete countertops.
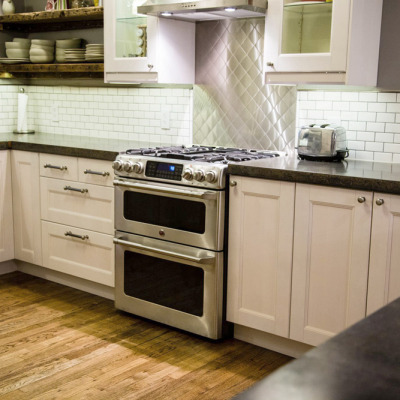
Finishing Touches
See Part 3 for the reveal and a look at the finishing touches, like a mini subway tile backsplash with contrasting grout, stainless appliances, and everything we mentioned above but didn’t show you in this post.
In the meantime, if you have questions, use the comments section below. Is there anything you would have done differently?
Kitchen Renovation, Part 1: Planning & Permits
Kitchen Renovation, Part 2: Breaking Things & Building Things
Kitchen Renovation, Part 3: The Reveal


2 Responses
This is really great and inspirational Peter! Leslie did a great job on those cabinets no questions asked! Thanks for sharing!
That reclaimed wood is so beautiful. I’ve got some friends over at http://illinado.com who work on a lot of similar old school renovations and I’m always blown away by the beauty in wood renovation work. Keep up the great work!